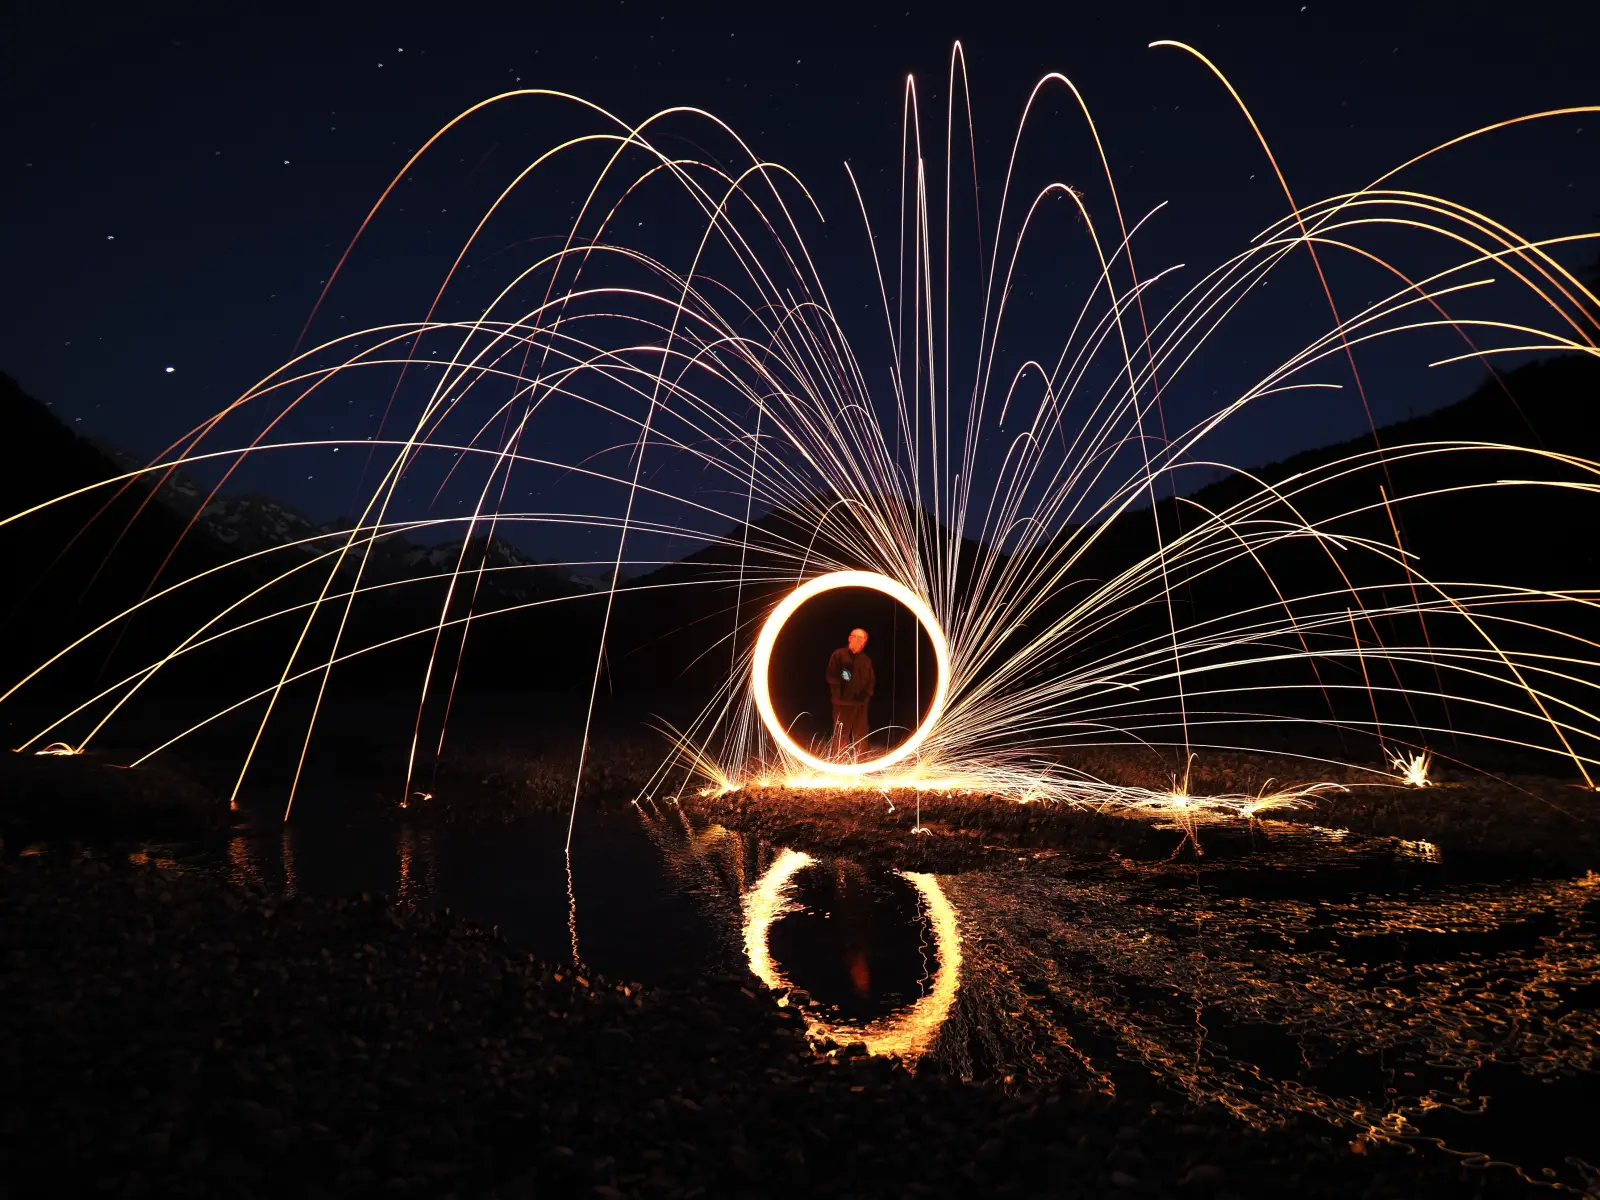
Live Composite in Olympus / OM System cameras is a quite popular function as it enables the photographer to shoot long time exposure images without over exposing the final result. However this function do have some short comings. As this function adds lighter parts of each image to the current composite. Therefore it could happen that your image gets destroyed by an unpredictable bright occasion. In this short tutorial I would like to show you how you can make a Live Composite image in OM Workspace out of single images back home at your computer. In OM Workspace you do have even more options as when you make it directly in camera.
What you should consider while taking images for Live Composite
In case you would like to make a Live Composite with OM Workspace your workflow is different. Instead of using the Live Composite Mode in the camera you should use the time-lapse functionality in camera. All other settings are identical. Please select exposure time and aperture fitting to your needed total image brightness. The time-laps interval should fit to the exposure time. Means in case you have selected a exposure time of i.e. 5s the time-lapse interval should be long enough that the next image is taken afterwards. Beside this I recommend to take RAW images, this makes the post processing easier.
How to make a Live Composite with OM Workspace
Once you have taken the images and you are back home open Workspace. Select the location where the images you would like to use are stored. Once you have open the folder with the images do following.
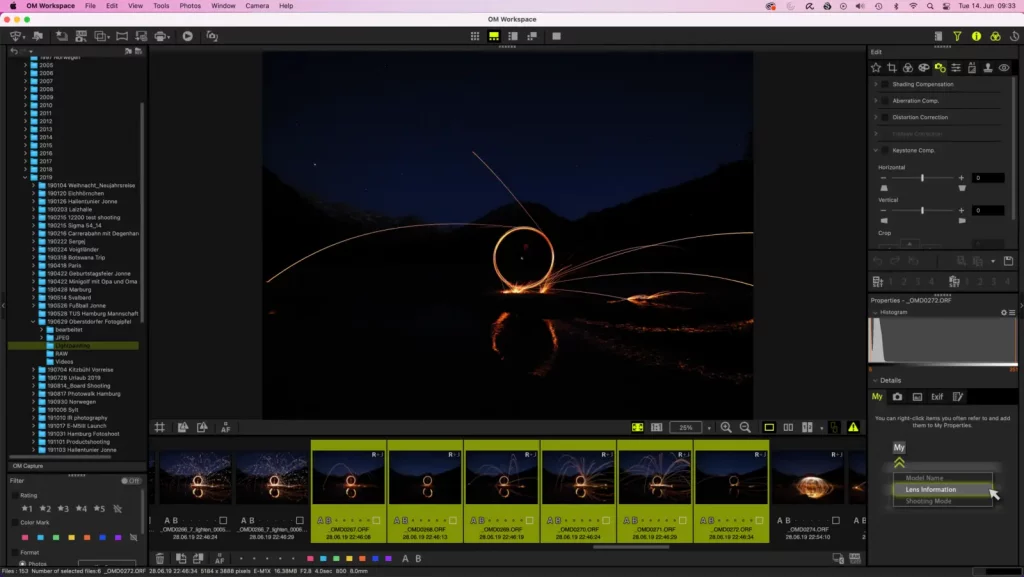
1. Select all images you would like to use for the Composite.
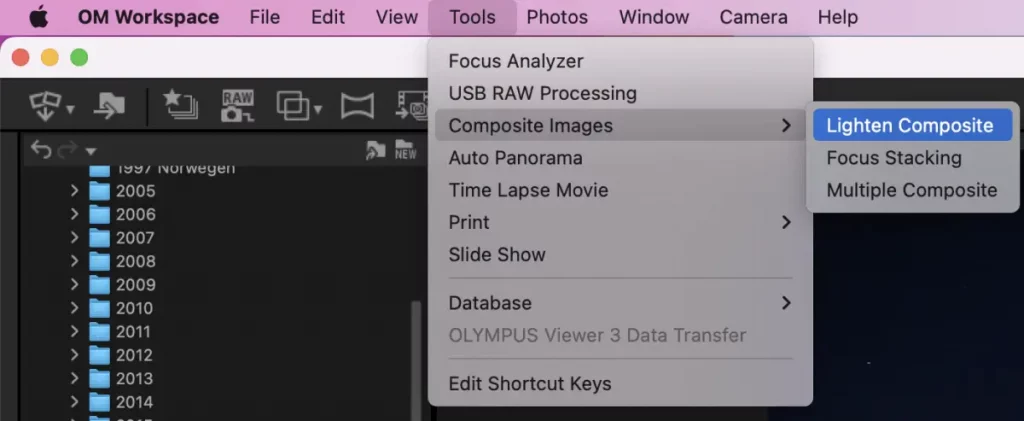
2. Select in “Tools” “Composite Images” “Lighten Composite”. A new window will open
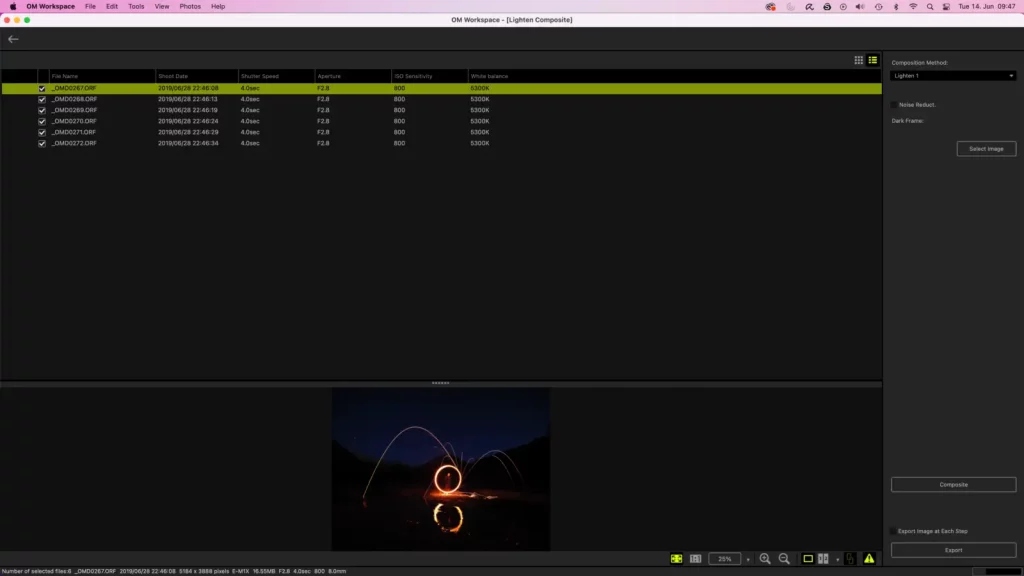
3. Here you can check the images and decide which image should be in the composite. In addition in case you haven’t made a separate black reference, you can select this here to improve your image quality.
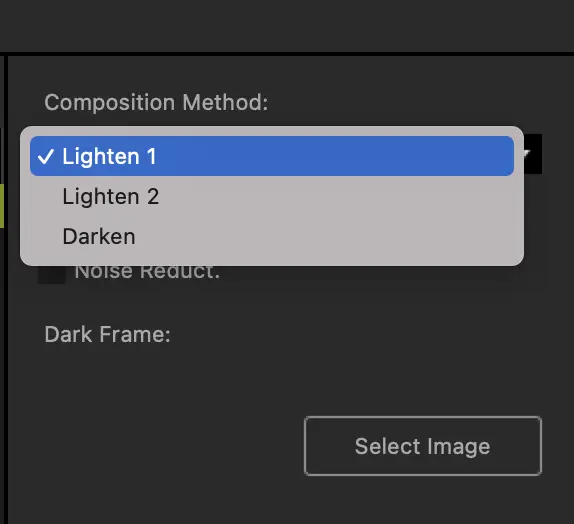
4. Select “Lighten 1” in case you would like to have an even result. Fitting for star trails for example. “Lighten 2” is more suitable for fireworks.
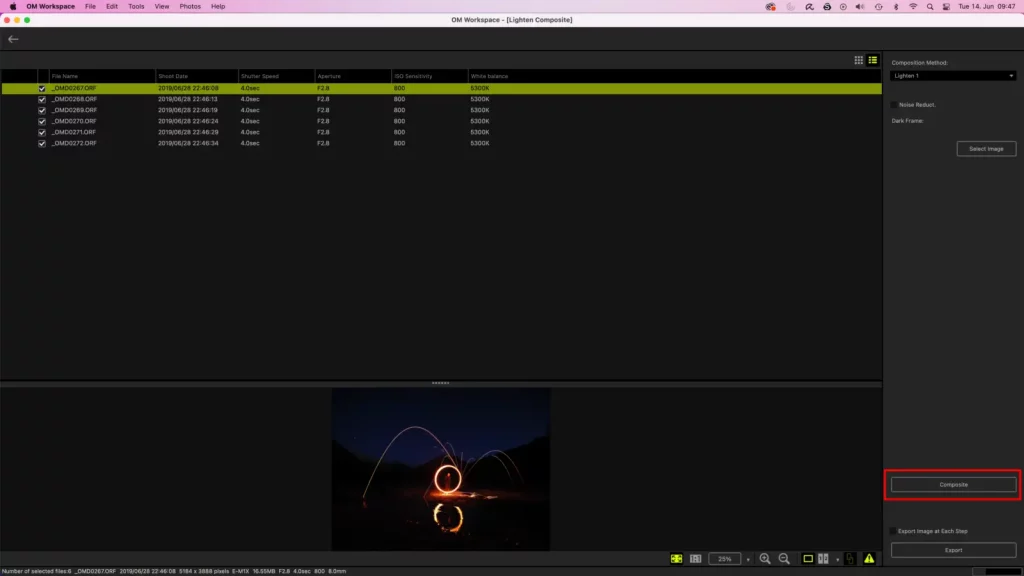
5. By pressing “Composite” you can generate a preview, which will be shown in the list underneath your images.
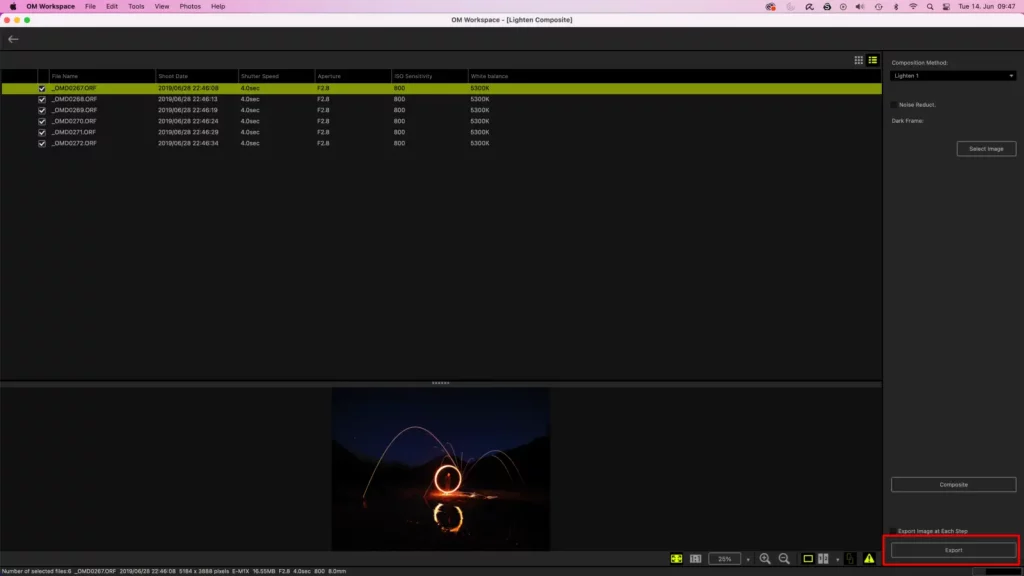
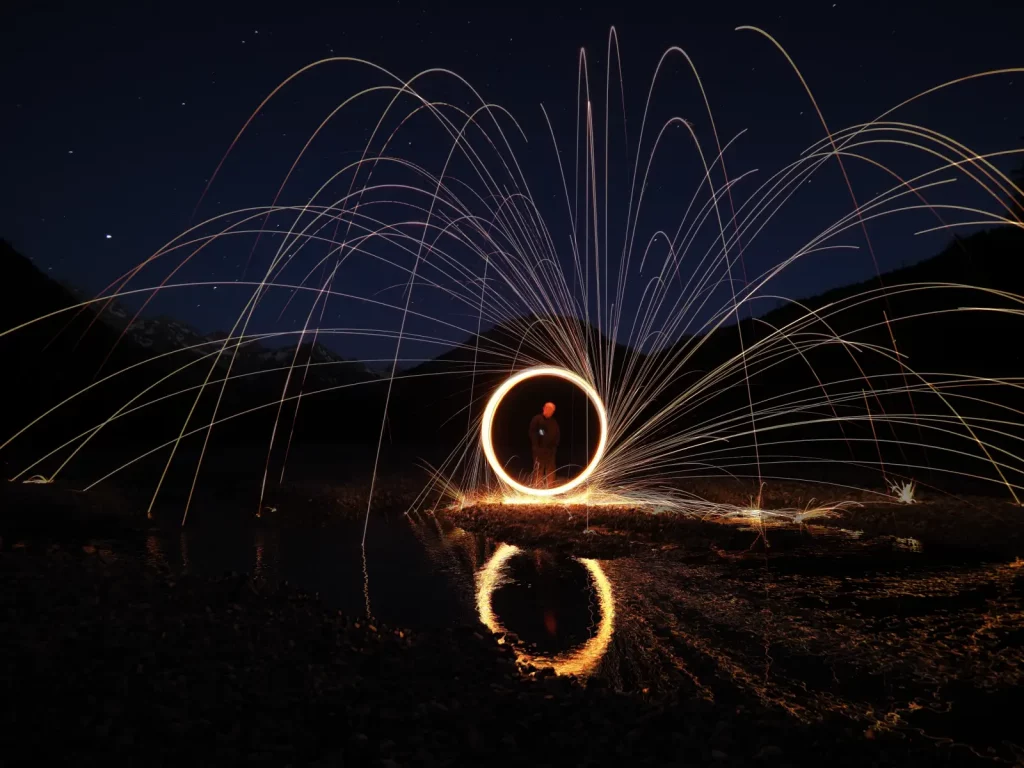
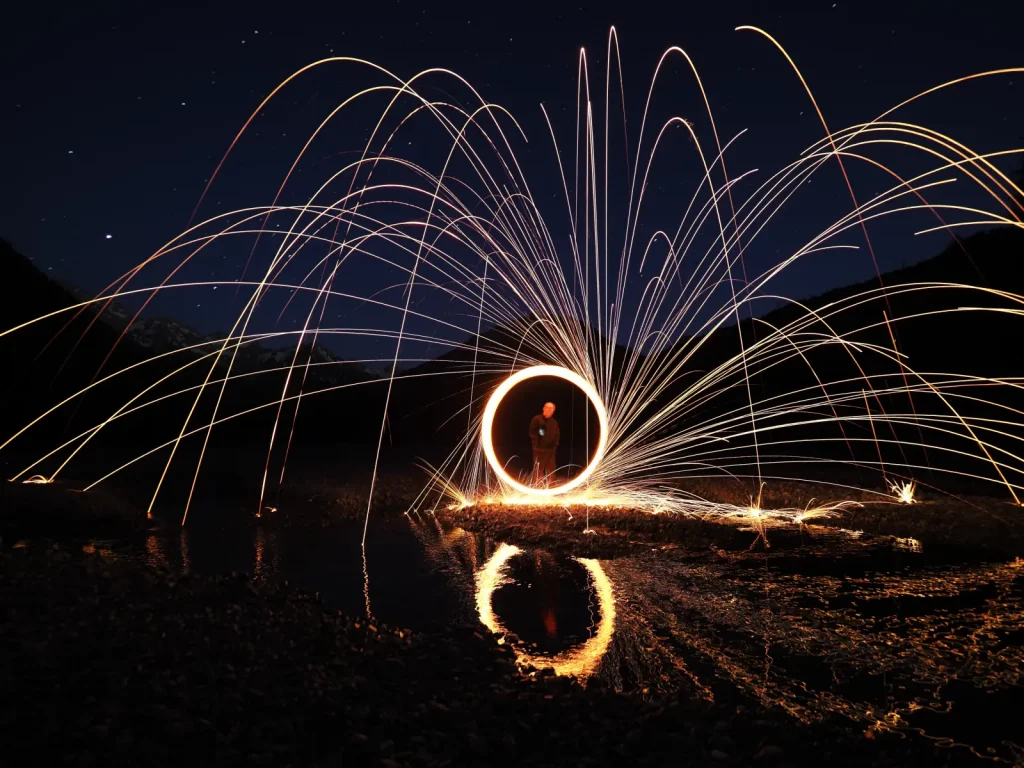
6. Once you are satisfied, press “Export” to save the result in your image gallery.
Additional options in OM Workspace
As you took single image generating composite image in OM Workspace do have some additional option, which are not available in camera.
- You can not only add brighter parts to your images, but also darker. This is helpful when you for example would like to remove bright clouds from your image and generate a deep blue sky.
- When you tick the box “Export image at each step” you get also the images which are generates in each step. This enables you to make an animation showing how the image develops. Especially use full in case you do make movies.
- In case a in the series of images one image is to bright or not fitting you simply can skip it. You are more flexible in the result.
Your feedback is appreciated
I make those kind of short description for you. Therefore I would be interested in whether you like it or not. Please leave a comment what you are interested in and what kind of content you would like to see next.

Pingback: Computational Photography - Even Longer - Michael Guthmann
Pingback: Bilder einfach kabellos übertragen - Michael Guthmann
Pingback: OM-D E-M1 Mark III / OM-1 Firmware aktualisieren - Michael Guthmann