

With the introduction of the OM-1 more than a year ago, OM Digitalsolution introduced a noise reduction with Ai. This was a measure to support the marketing claim of a 2 f-stop better noise performance compared to the E-M1 Mark III. If the images are processed directly in the camera to JPEG, this is certainly a valid approach. However, there is still a debate about whether this statement is valid. This certainly stems from the fact that most OM-1 buyers shoot images in RAW format and then process them in Lightroom. Since Lightroom certainly didn’t have the best noise filter until the last release, users experienced a different reality than the one communicated by the marketing department.
Now, with the latest release of Lightroom, Adobe has also introduced a noise filter based on artificial intelligence. This is highly praised from all sides. So it made me curious which of the two technologies works better on images from the OM-1. I was not only interested in the quality of the disappointing images but also the workflow and the processing speed.
Noise reduction with Ai in OM Workspace
To use the artificial intelligence noise filter from OM Digitalsolutions you need to download the latest version of OM Workspace. The software is free of charge. However, you need your camera serial number. Otherwise, you will not be able to download the software.
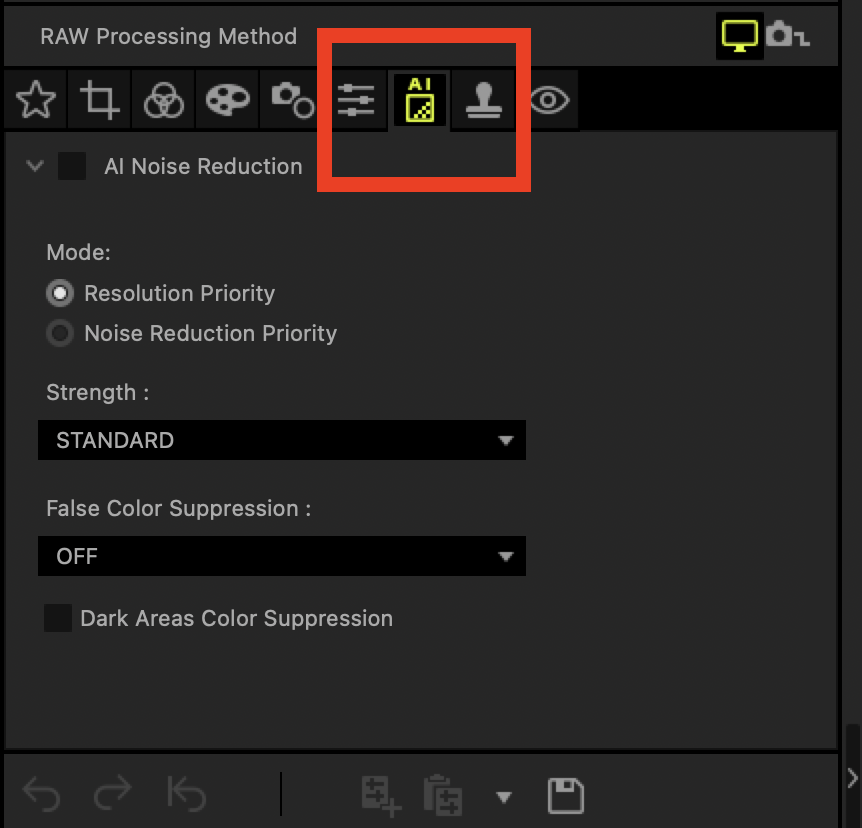
Before you do that, please check the system requirements. Artificial intelligence needs some computing power; therefore, the noise filter is unavailable for every computer. If your computer does not meet the requirements you will not find the AI tab (see picture) in OM Workspace.
Workflow
As you can see in the picture above, the noise filter is part of normal image processing and therefore easy to use. The noise filter is not limited to images from the OM-1. According to the OM Digitalsolution website, the following cameras are compatible:
- OM-1
- E-M1X
- E-M1 Mark III
- E-M1 Mark II
- E-M5 Mark III
The OM-5 is not on the list. However, since it uses the sensor of the E-M1 Mark III, I assume that it is also supported. Probably the website has not been updated yet. If your camera is not compatible with the noise filter, you will not see the AI tab.
Once selected, you have several options. Firstly, you can decide whether you want to give priority to resolution or noise reduction. On the other hand, you can set the strength of the noise filter in three steps (Low, Standard and High). Here only the graininess is reduced. For colour noise the second setting “False Color Suppression” is responsible. Here you also have three levels (Low, Standard and High) to choose from.
Finally, you can activate “Dark Area Color Suppression”. This function reduces low-frequency noise that remains in the dark area.
Speed
I own an Apple Macbook Air with an M2 processor and judge the speed on this basis. Since the minimum requirements for the AI-based noise filter are relatively high, I think the speed will be similar to other systems. The noise filtering runs pleasingly fast. It takes about 4 seconds.
Quality
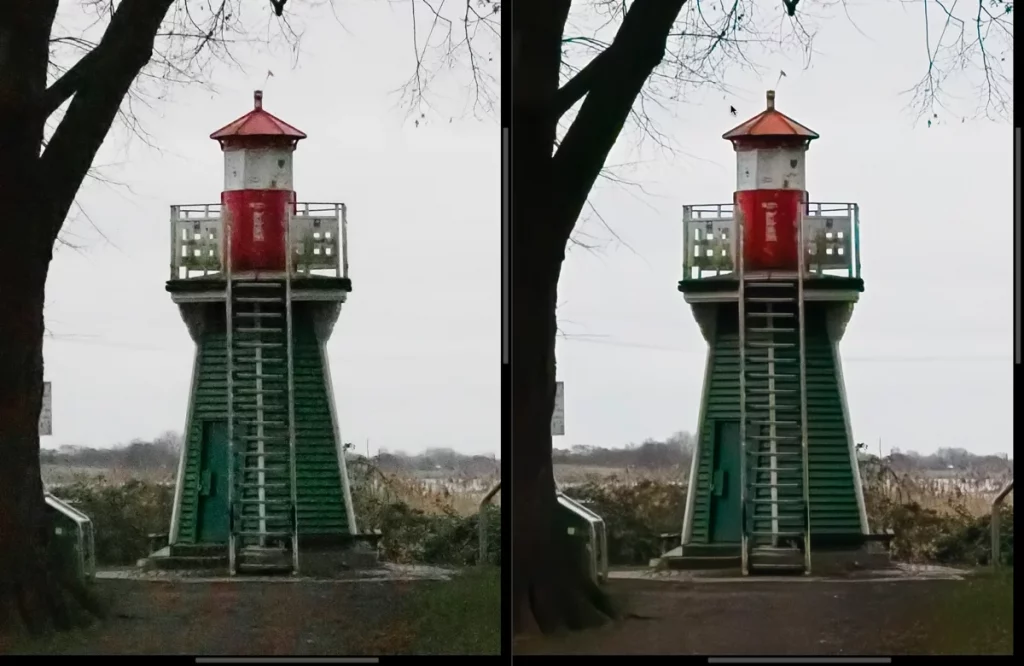
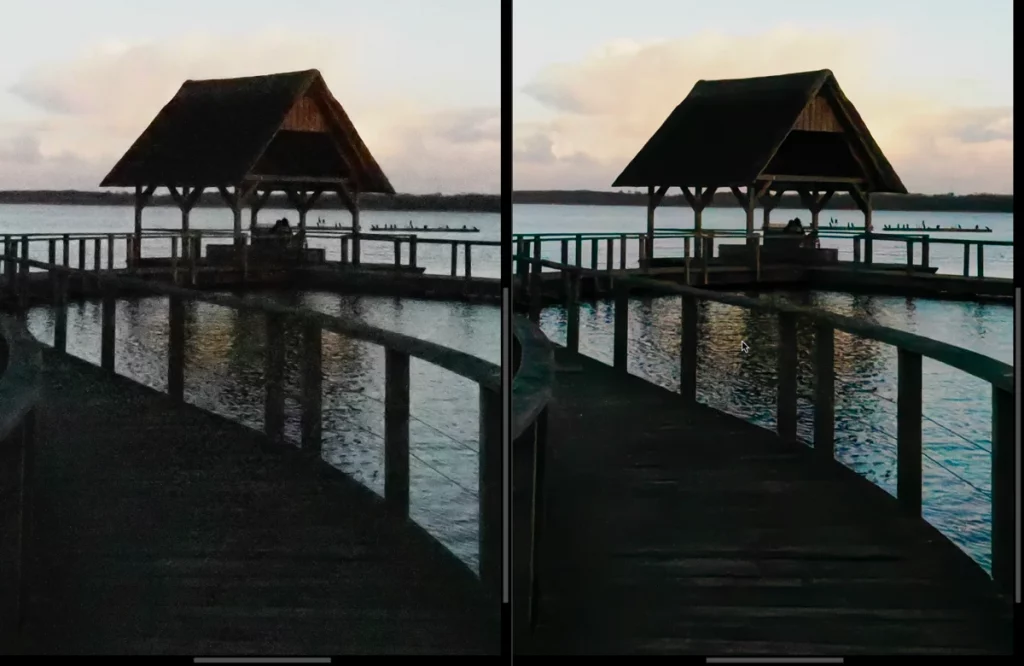
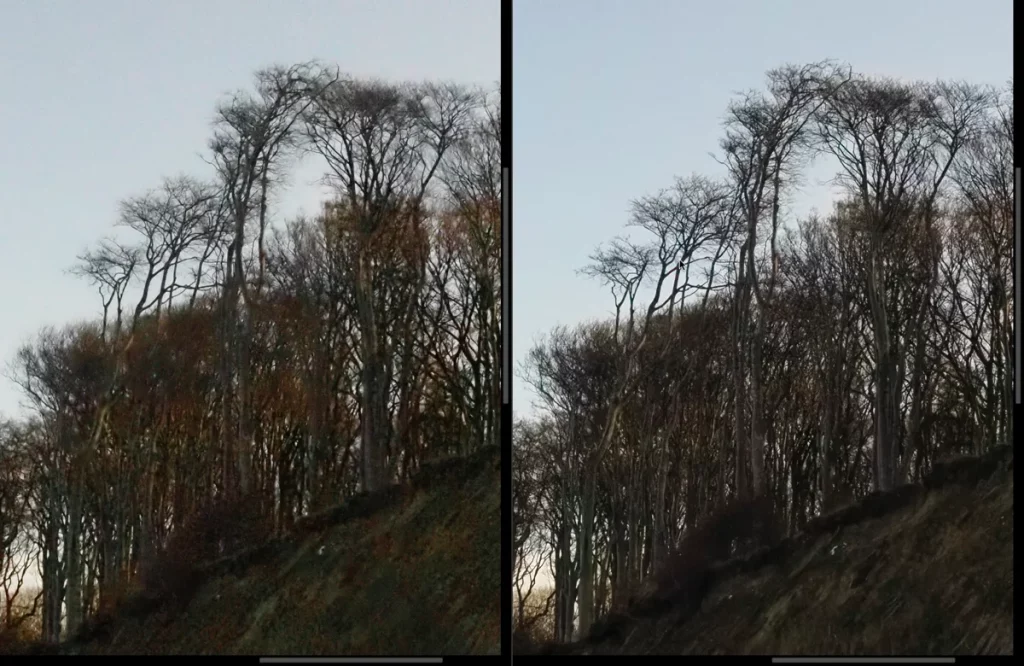
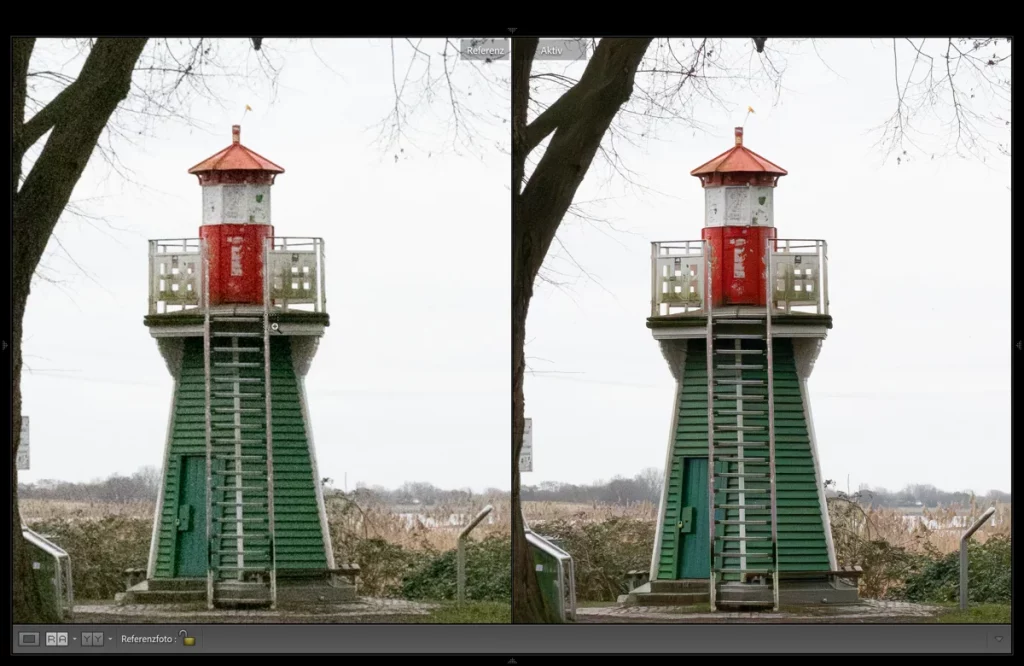
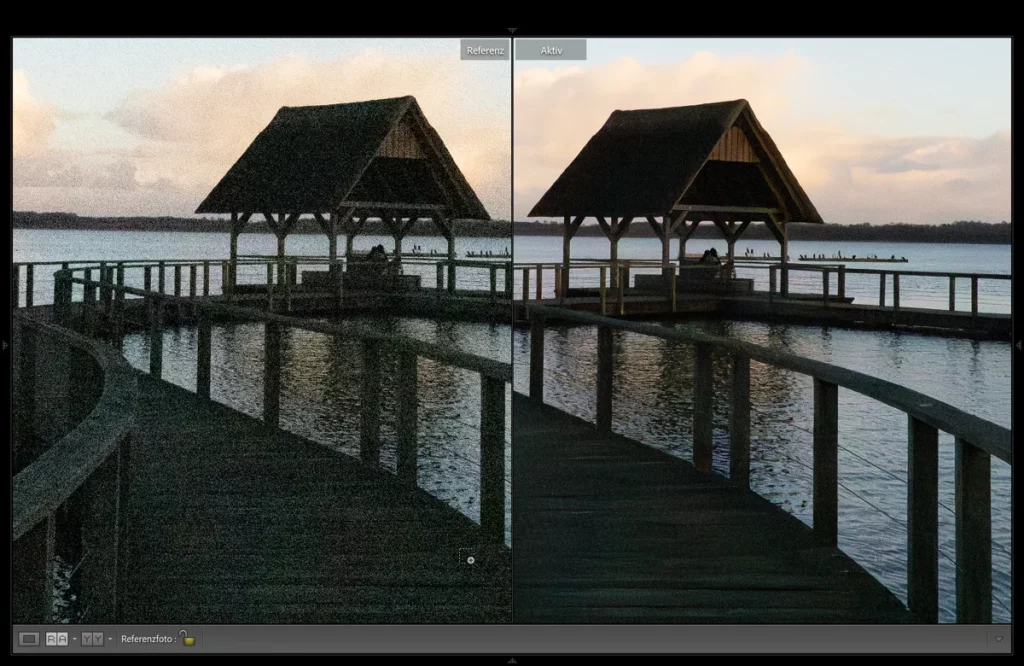
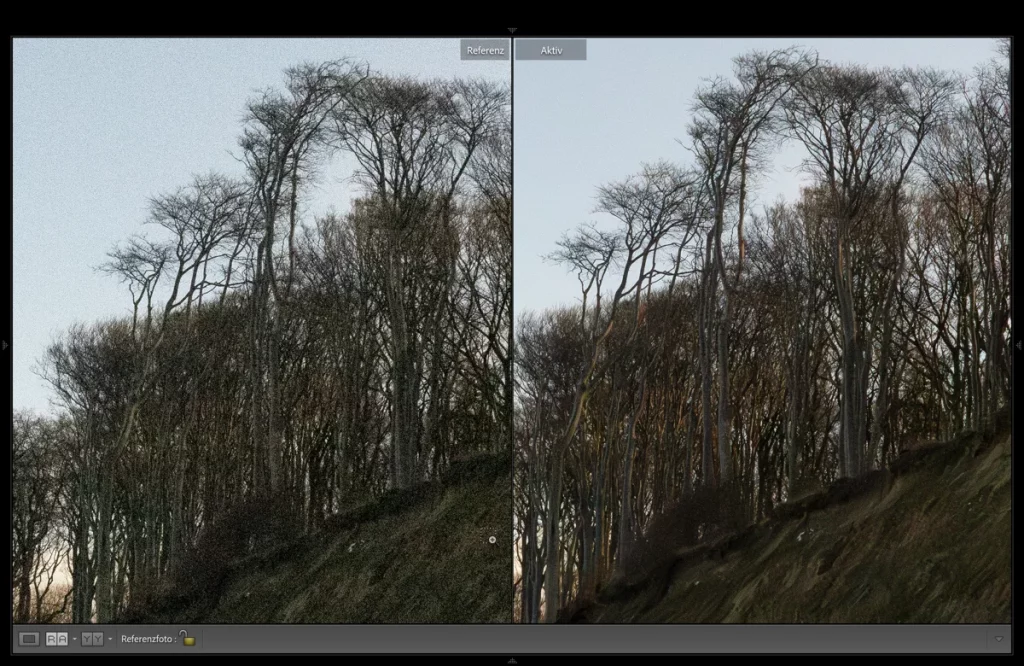
The noise filter does an amazing job. If the quality of the OM-1 is already very usable up to 6400 ISO, the noise filter raises it to 25600 ISO. I would say you gain about 2 f-stops. I would not use the “Dark Area Color Suppression” function though, it leads to a very strong decolourization of dark areas and can have very unpleasant side effects. Here are a few comparisons before and after noise filtering.
Download the OM Workspace files here.
Noise reduction with AI in Adobe Lightroom
Workflow and Speed
In Lightroom, the noise filter is also part of the normal image processing chain. It can also be applied at any time, but Adobe recommends using it as a first step.

Instead of a discrete three-step setting, Lightroom has a slider that ranges from 0-100 and can be adjusted with a preview. In addition, the dialogue also shows the estimated editing time. The processing takes much longer than with OM Workspace. It doesn’t have to mean anything bad if the quality is better. More about this later.
Lightroom saves the file processed with the noise filter as a new DNG. So the noise filter can’t be activated and deactivated so easily. If you are not satisfied with the achieved quality, you have to start over with the other file. In practice, however, this is not a problem. The original file remains after all.
Quality
Lightroom’s noise filter also produces amazing results. After initial viewing, I would even say the results are better than OM Workspace.
You can download the Lightroom files here.
Conclusion
Both software variants deliver amazing results with the artificial intelligence noise filter and deliver at least 2 stops better image quality. The workflow could not be more different. Lightroom is much slower in processing and a new DNG file is created after the application. But the normal Lightroom workflow is available and the noise filter is not limited to Olympus / OMDS files. This is exactly the reason why I find the Lightroom solution better. The OM Workspace workflow is rather sluggish and cumbersome and can’t keep up with Lightroom.
What are your experiences? I’m looking forward to hearing from you in the comments.
→ Find an overview of all OM Workspace features in my OM Workspace Guide.
Pingback: Image transfer without cable - Michael Guthmann