
Why useful
The automatic or preset white balance is useful for normal situations. In case you would like to have a precise white balance or you are working in difficult light situations customized white balance offers you much better results. In case you don’t work with RAW files, which can change white balance in post-processing, with OM-D cameras you could use the One Touch White Balance.
How to use the one touch white balance
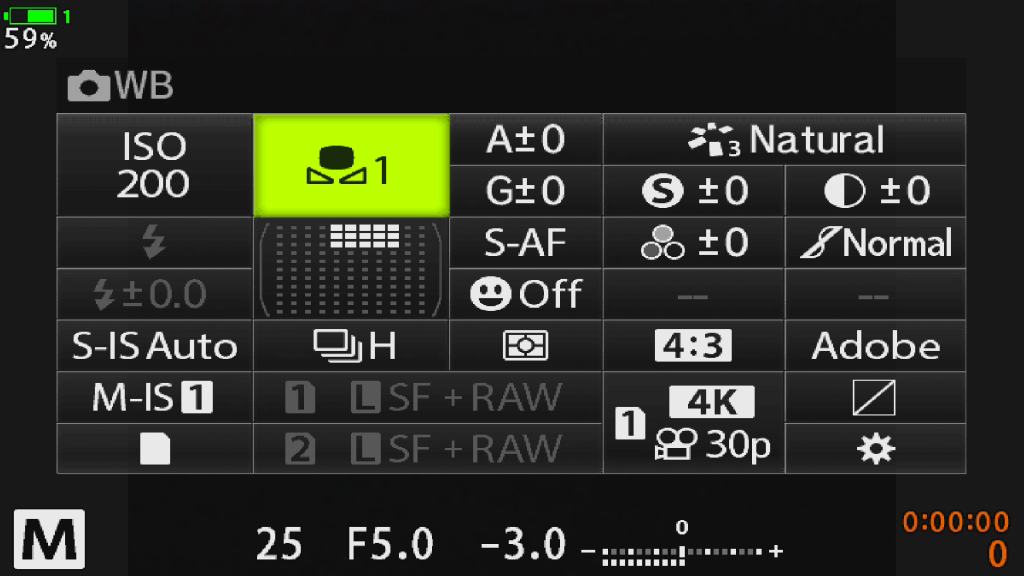
1. Press the “OK” button to activate the Super Control Panel. Choose white balance and press “OK” again.
2. Choose a “Custom White Balance” and press the “INFO” button.
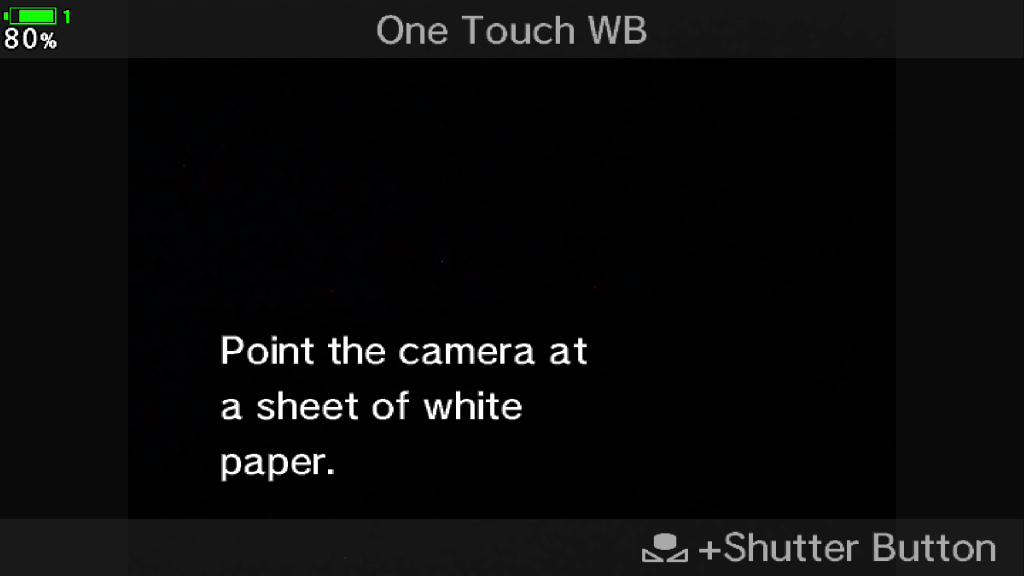
3. Shoot a neutral object (i.e. white sheet of paper or a gray card), which covers at least 75% of the image area.
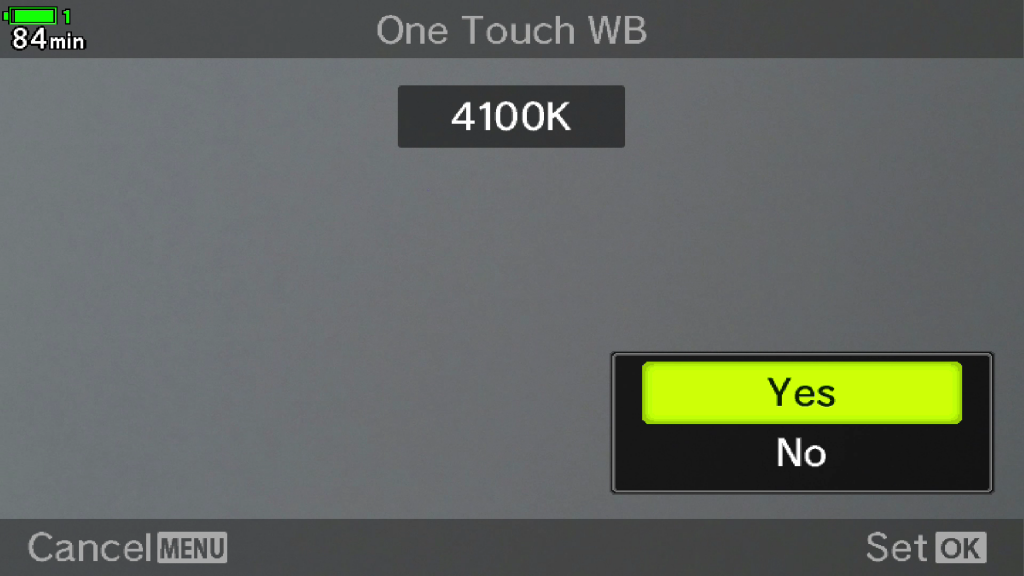
4. As soon as you took the image the camera asks you whether you would like to save the white balance or not.
Pro Tip
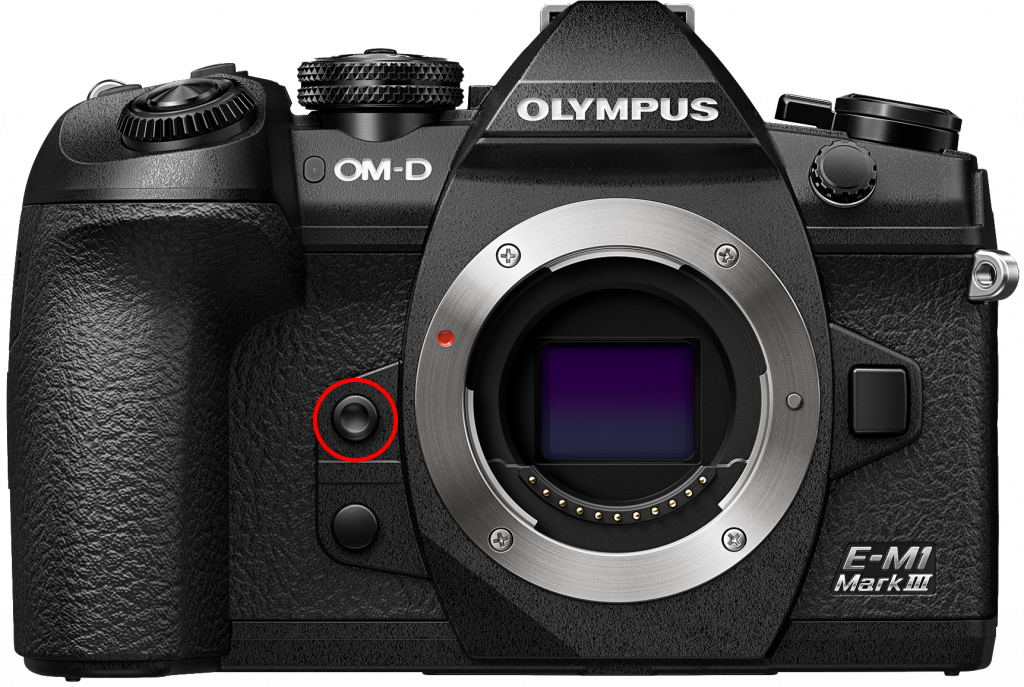
In case you need to have custom white balance often you could also program a button with the function. This has the advantage that you could save the customized white balance by pressing the button only, without going through the menu.
Not the help I was looking for. I have put the white balance in CF4 on WB Auto on the superpanel and pressed ok but when I switch the camera off or go to another custom function then back to CF4 I have goes back to the original setting and I have lost the Auto WB. What do I have to press to set it on that auto setting