
There are many picture modes in Olympus cameras, which influence how sharpness, contrast, gradation, and saturation looks like in JPEG files. Saturation for example is in the picture mode “Vivid” stronger than in the picture mode “Normal”. For my personal taste, I like the picture mode “Normal” very much, but this is a matter of taste and therefore the photographer could adjust picture modes to a certain degree. This could be done in the Menu. I prefer the Super Control Panel, as you can reach the settings there faster und adjustments could be done directly.
How to adjust picture modes

1 You reach the Super Control Panel by pressing the “OK” button.
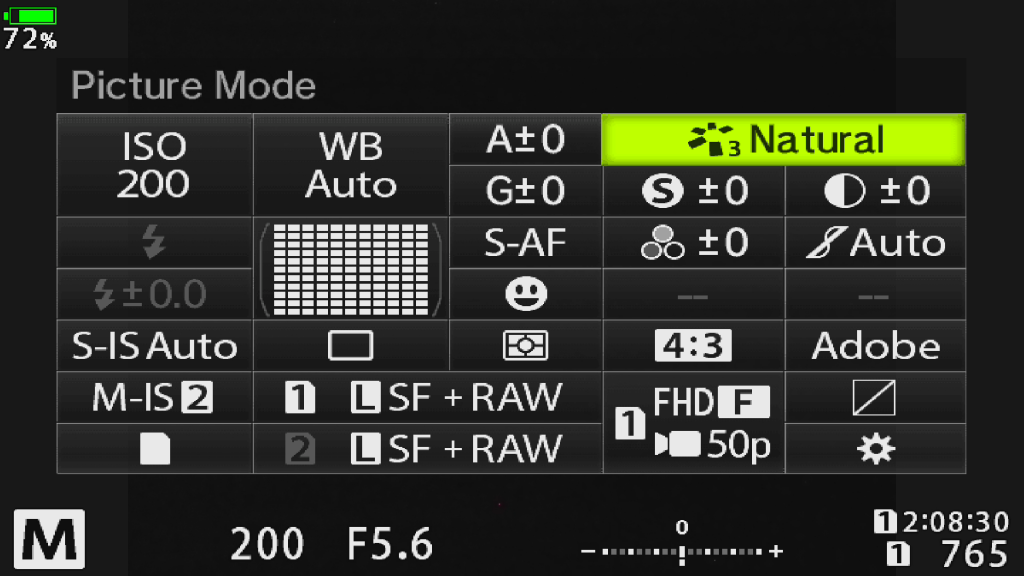
2 In the upper right corner picture modes can be selected. Directly below you can adjust picture modes settings like sharpness, contrast, gradation, and saturation for each picture mode.
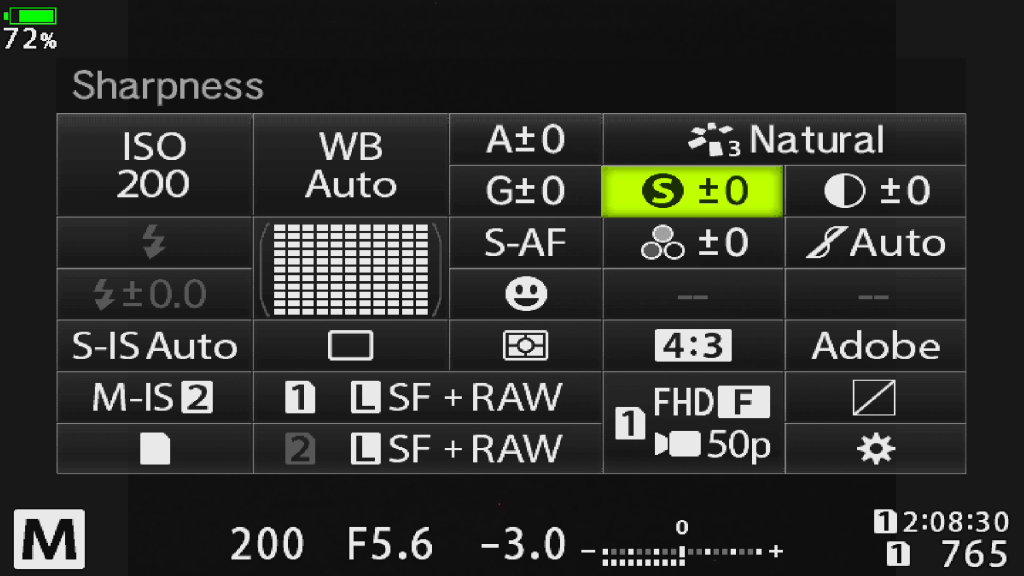
3 To change a Value just select a value by touch screen or use the arrow keys. Use the forefinger wheel to change a value.
In case you selected an Art Filter instead of a “normal” picture mode, you can adjust extra Art Filer functions instead of sharpness, contrast, saturation, or gradation. in some of the Art Filters, you could change a frame for example. Important to know is that those settings influence only the JPEG files. RAW files are not affected at all.