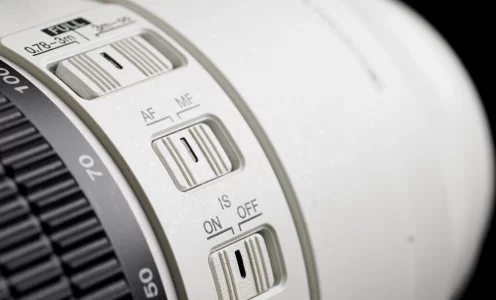
Bildstabilisierung verstehen: Was IBIS und Sync IS wirklich bringen
Im Juni, auf dem Fotogipfel in Oberstdorf, habe ich etwas beobachtet, das mich seitdem beschäftigt. Beim Tauschrausch haben mehrere Teilnehmer ihr M.Zuiko 100-400 mm der …
Im Juni, auf dem Fotogipfel in Oberstdorf, habe ich etwas beobachtet, das mich seitdem beschäftigt. Beim Tauschrausch haben mehrere Teilnehmer ihr M.Zuiko 100-400 mm der …
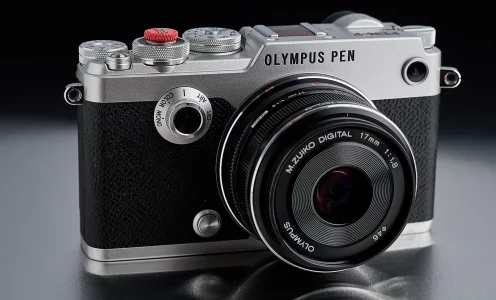
Many of you may know that I’m a big fan of the PEN F (the digital version). I regret selling it a while back, as …
Have you always wanted to generate social media posts at scale and publish them automatically on social networks? If you have a concept that is …
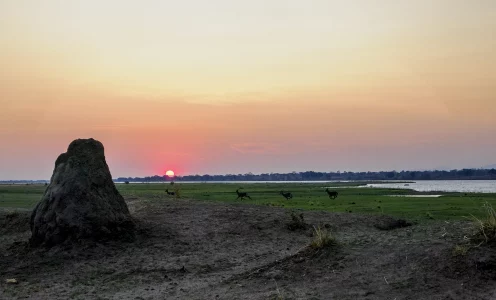
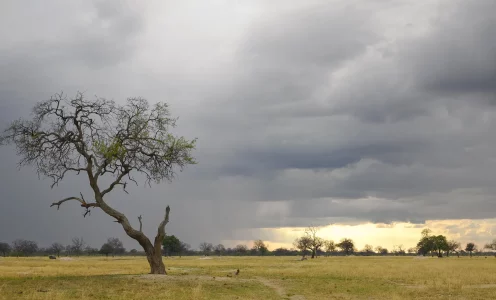
Since I first visited Zimbabwe and Botswana in 2017, these two countries have drawn me in. This year, during my trip to Zimbabwe, I had …
Since Olympus sold its camera division to Japan Industry Partner five years ago, OM System has not really been able to impress with new products …