Ever lost a hot shoe cover or a lens cap? It happens easily. You can either buy a replacement at a steep price from the manufacturer, or a bit cheaper from a third-party vendor. A while ago I bought a 3D printer and asked myself whether I could simply print these accessories myself. Here I share my experience of how I 3D-printed camera accessories.
What you need to made photo accessories with a 3D printer
Sliding calliper to measure the original object
Before you can print photo accessory you need the dimensions of the original. A sliding calliper helps you to get those precise enough. I’m using one with digital display. With it, it is easy to get the values which you are using in the 3D software.
Software to generate 3D data
The 3D printer needs 3D data, which you create with dedicated software. There are several options; for now I use Shapr3D. It is professional software that you can use for free with some limitations. Whether those limitations work for you is up to you – you’ll find the details on their website.

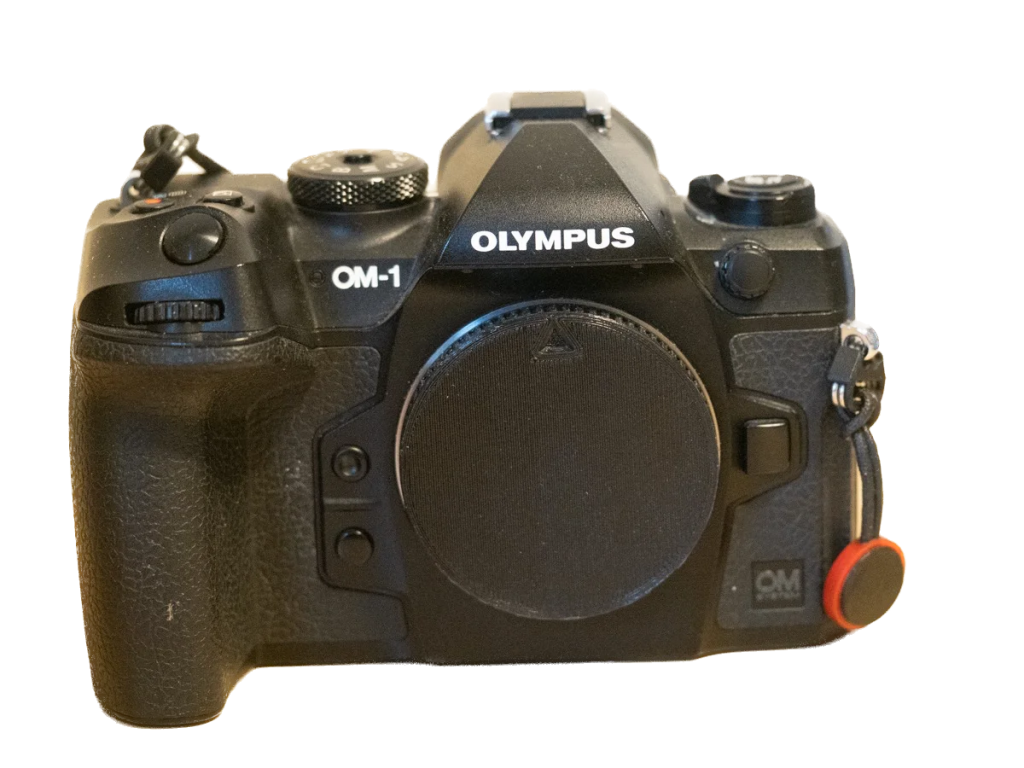
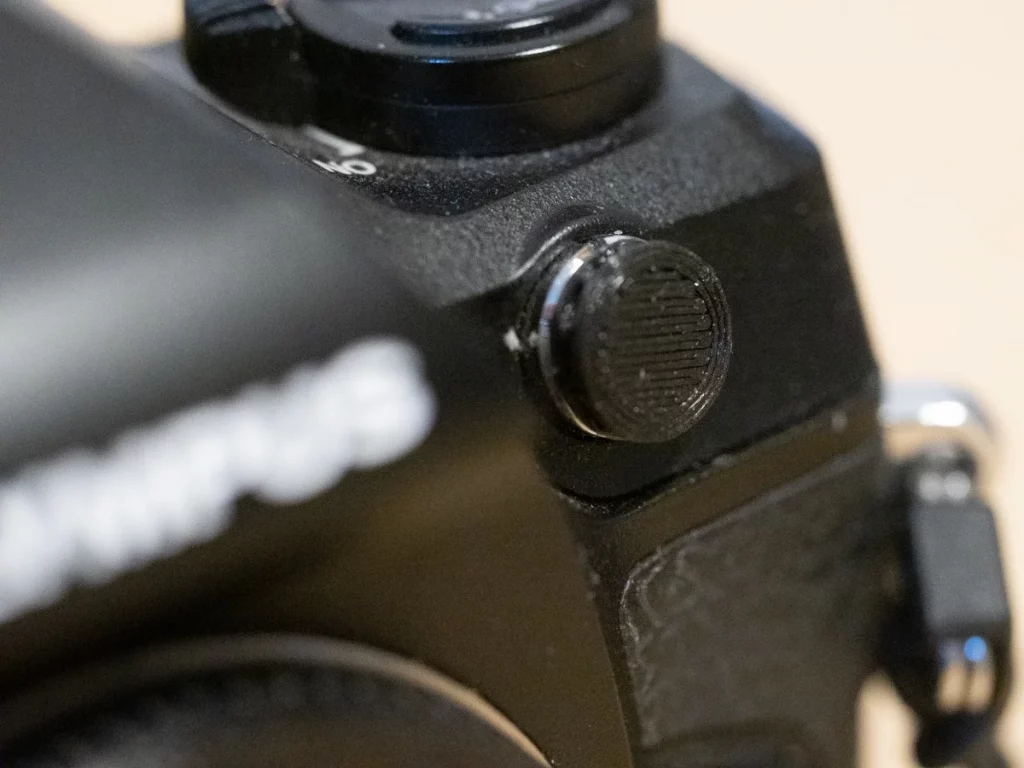
The advantage of Shapr3D is that it offers a short explainer video for every tool right inside the app. That makes the software easy to learn quickly. My 13-year-old son and I managed it without trouble, so you will too. The hot shoe cover in the image above, for an Olympus / OM System camera, was made by my son.
3D printer
Getting a 3D printer today is no problem at all. I started out with the Monoprice MP10, which served me well for a long time. These days I print with the Bambu Lab A1 mini. It largely calibrates itself, which makes getting started far smoother than it was in 2022. For camera accessories, an entry-level FDM printer like this is more than enough – you’ll rarely hit its limits.
Software to prepare printing data
Once your 3D data is ready, you have to prepare the file for printing, slicing the object into printable layers. For a long time I used Ultimaker Cura. These days I use Bambu Studio, Bambu Lab’s own slicer. If you want more features, there is the community fork OrcaSlicer. Which slicer you pick is largely personal preference; the principle is the same.
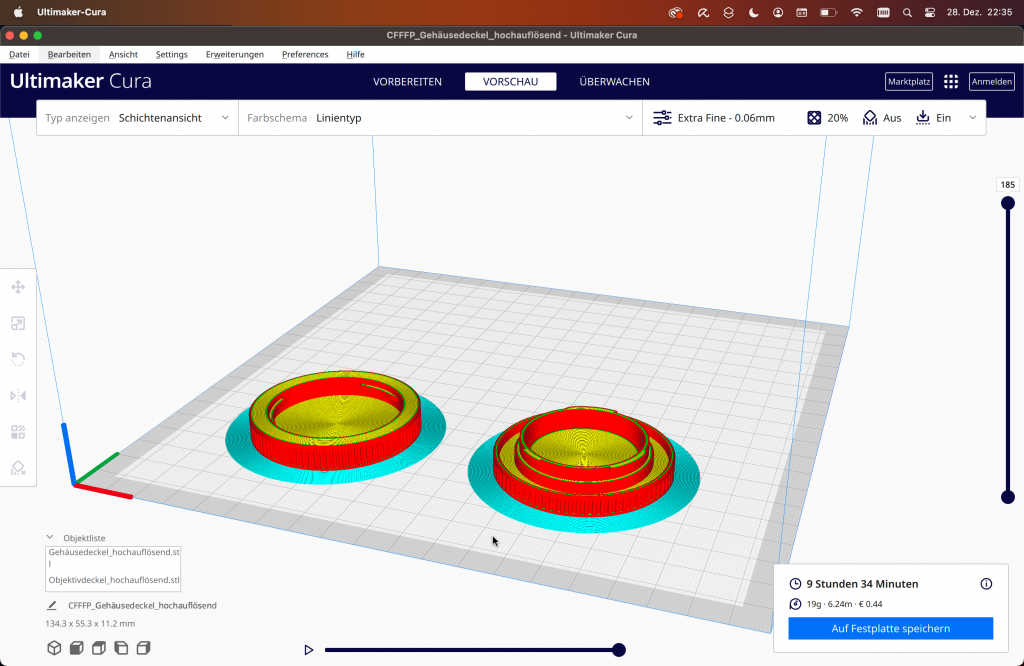
This program and the settings are a bit more complex. The settings depend on many parameters. In particular, the filament and the printer type you are using have a huge influence. Also, the resolution is a factor. You must experiment by yourself, there is no other way. This is fun and you will have very fast a feeling of success.
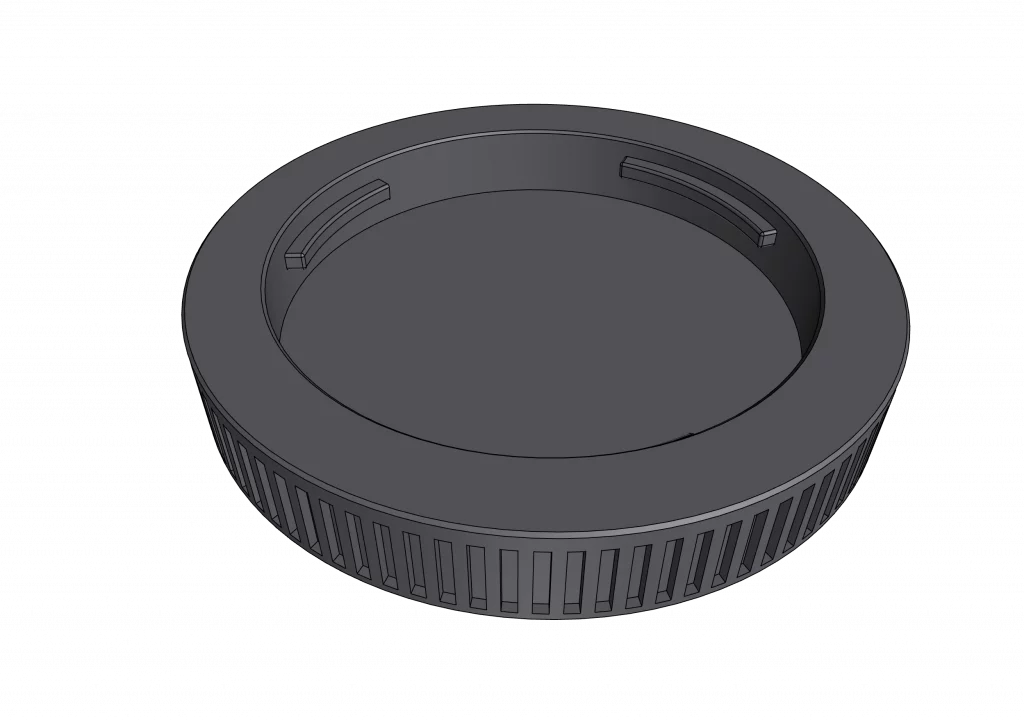
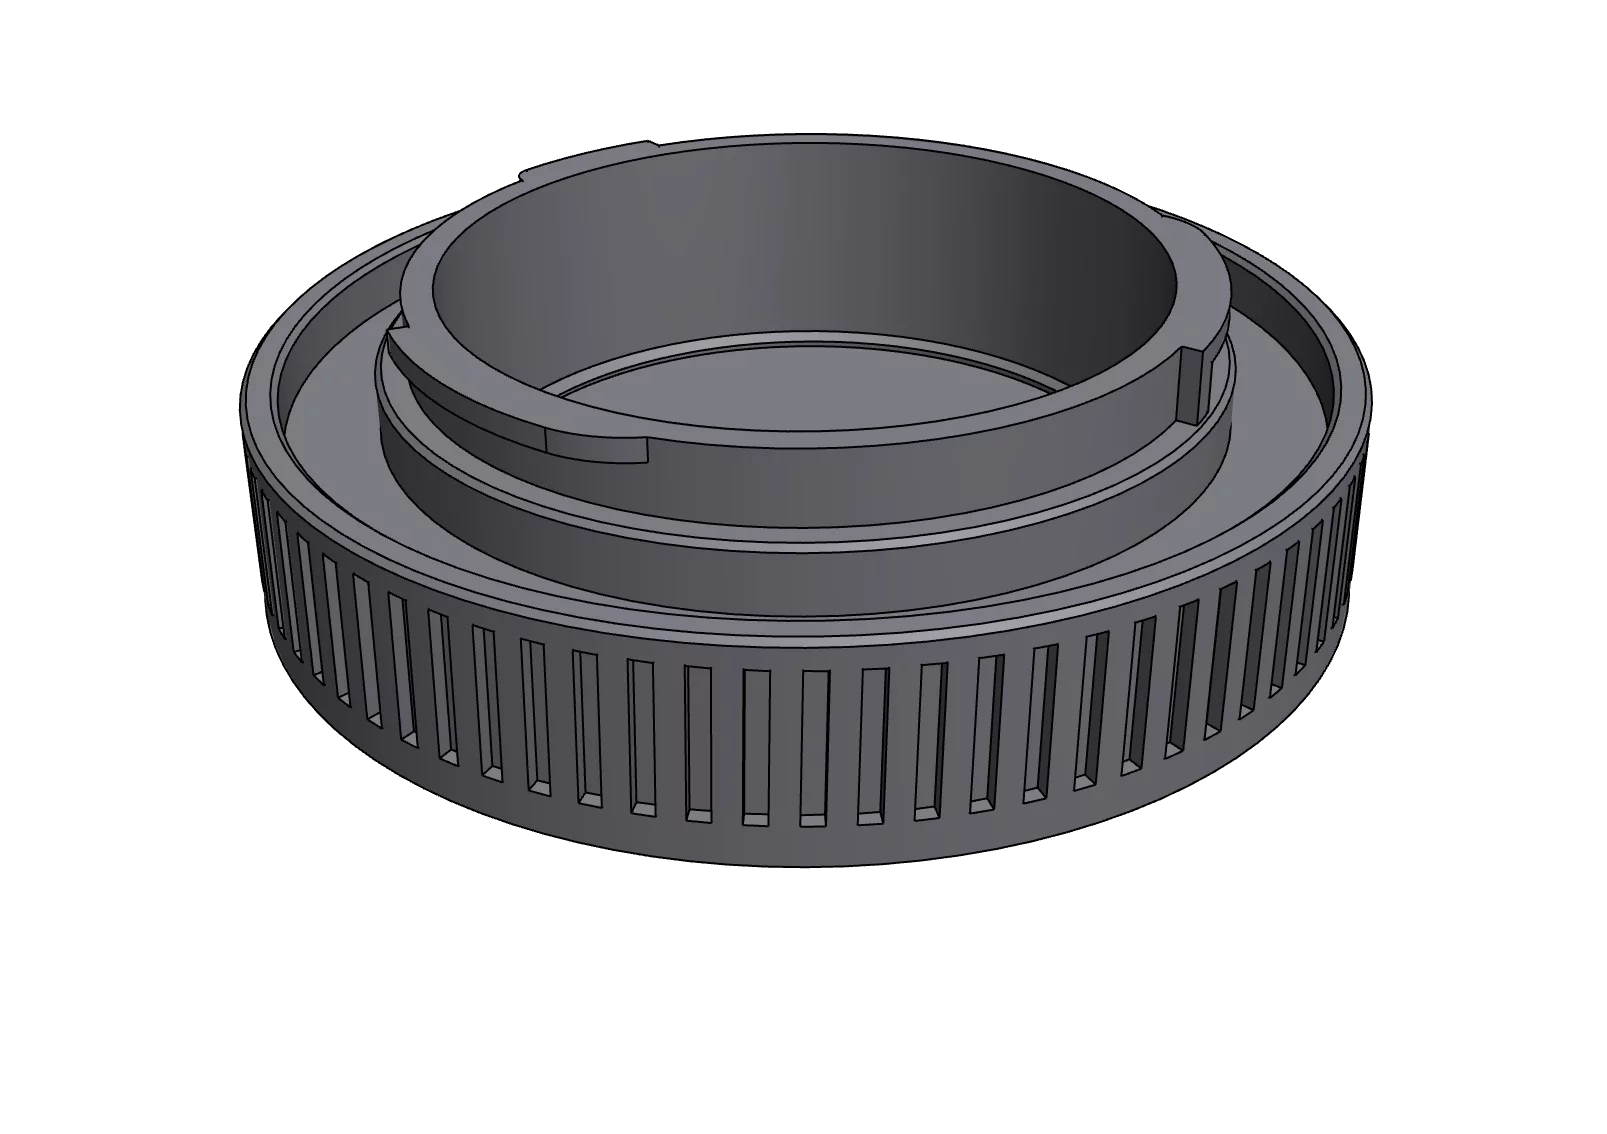
Very important is how you position the objects. As you can see in the image above, the lens cap and body cap lay on their flat sides. A 3D printer is not able to print into the air. Would I lay the object on the other side, I must use supporting layers. It needs not only additional material but is also complicated to remove. Therefore, if possible, the objects should be placed so that there are no cavities downwards.
Which filament for camera accessories?
For practice and for parts that just sit in a drawer, PLA is ideal: easy to print and dimensionally stable. But as soon as an accessory lives in your camera bag, your car or in direct sun, switch to PETG or ASA. PLA softens and warps in summer car heat – a lens cap that deforms is useless. For flexible parts such as port covers there is rubber-like TPU.
What accessories can you print with a 3D printer?
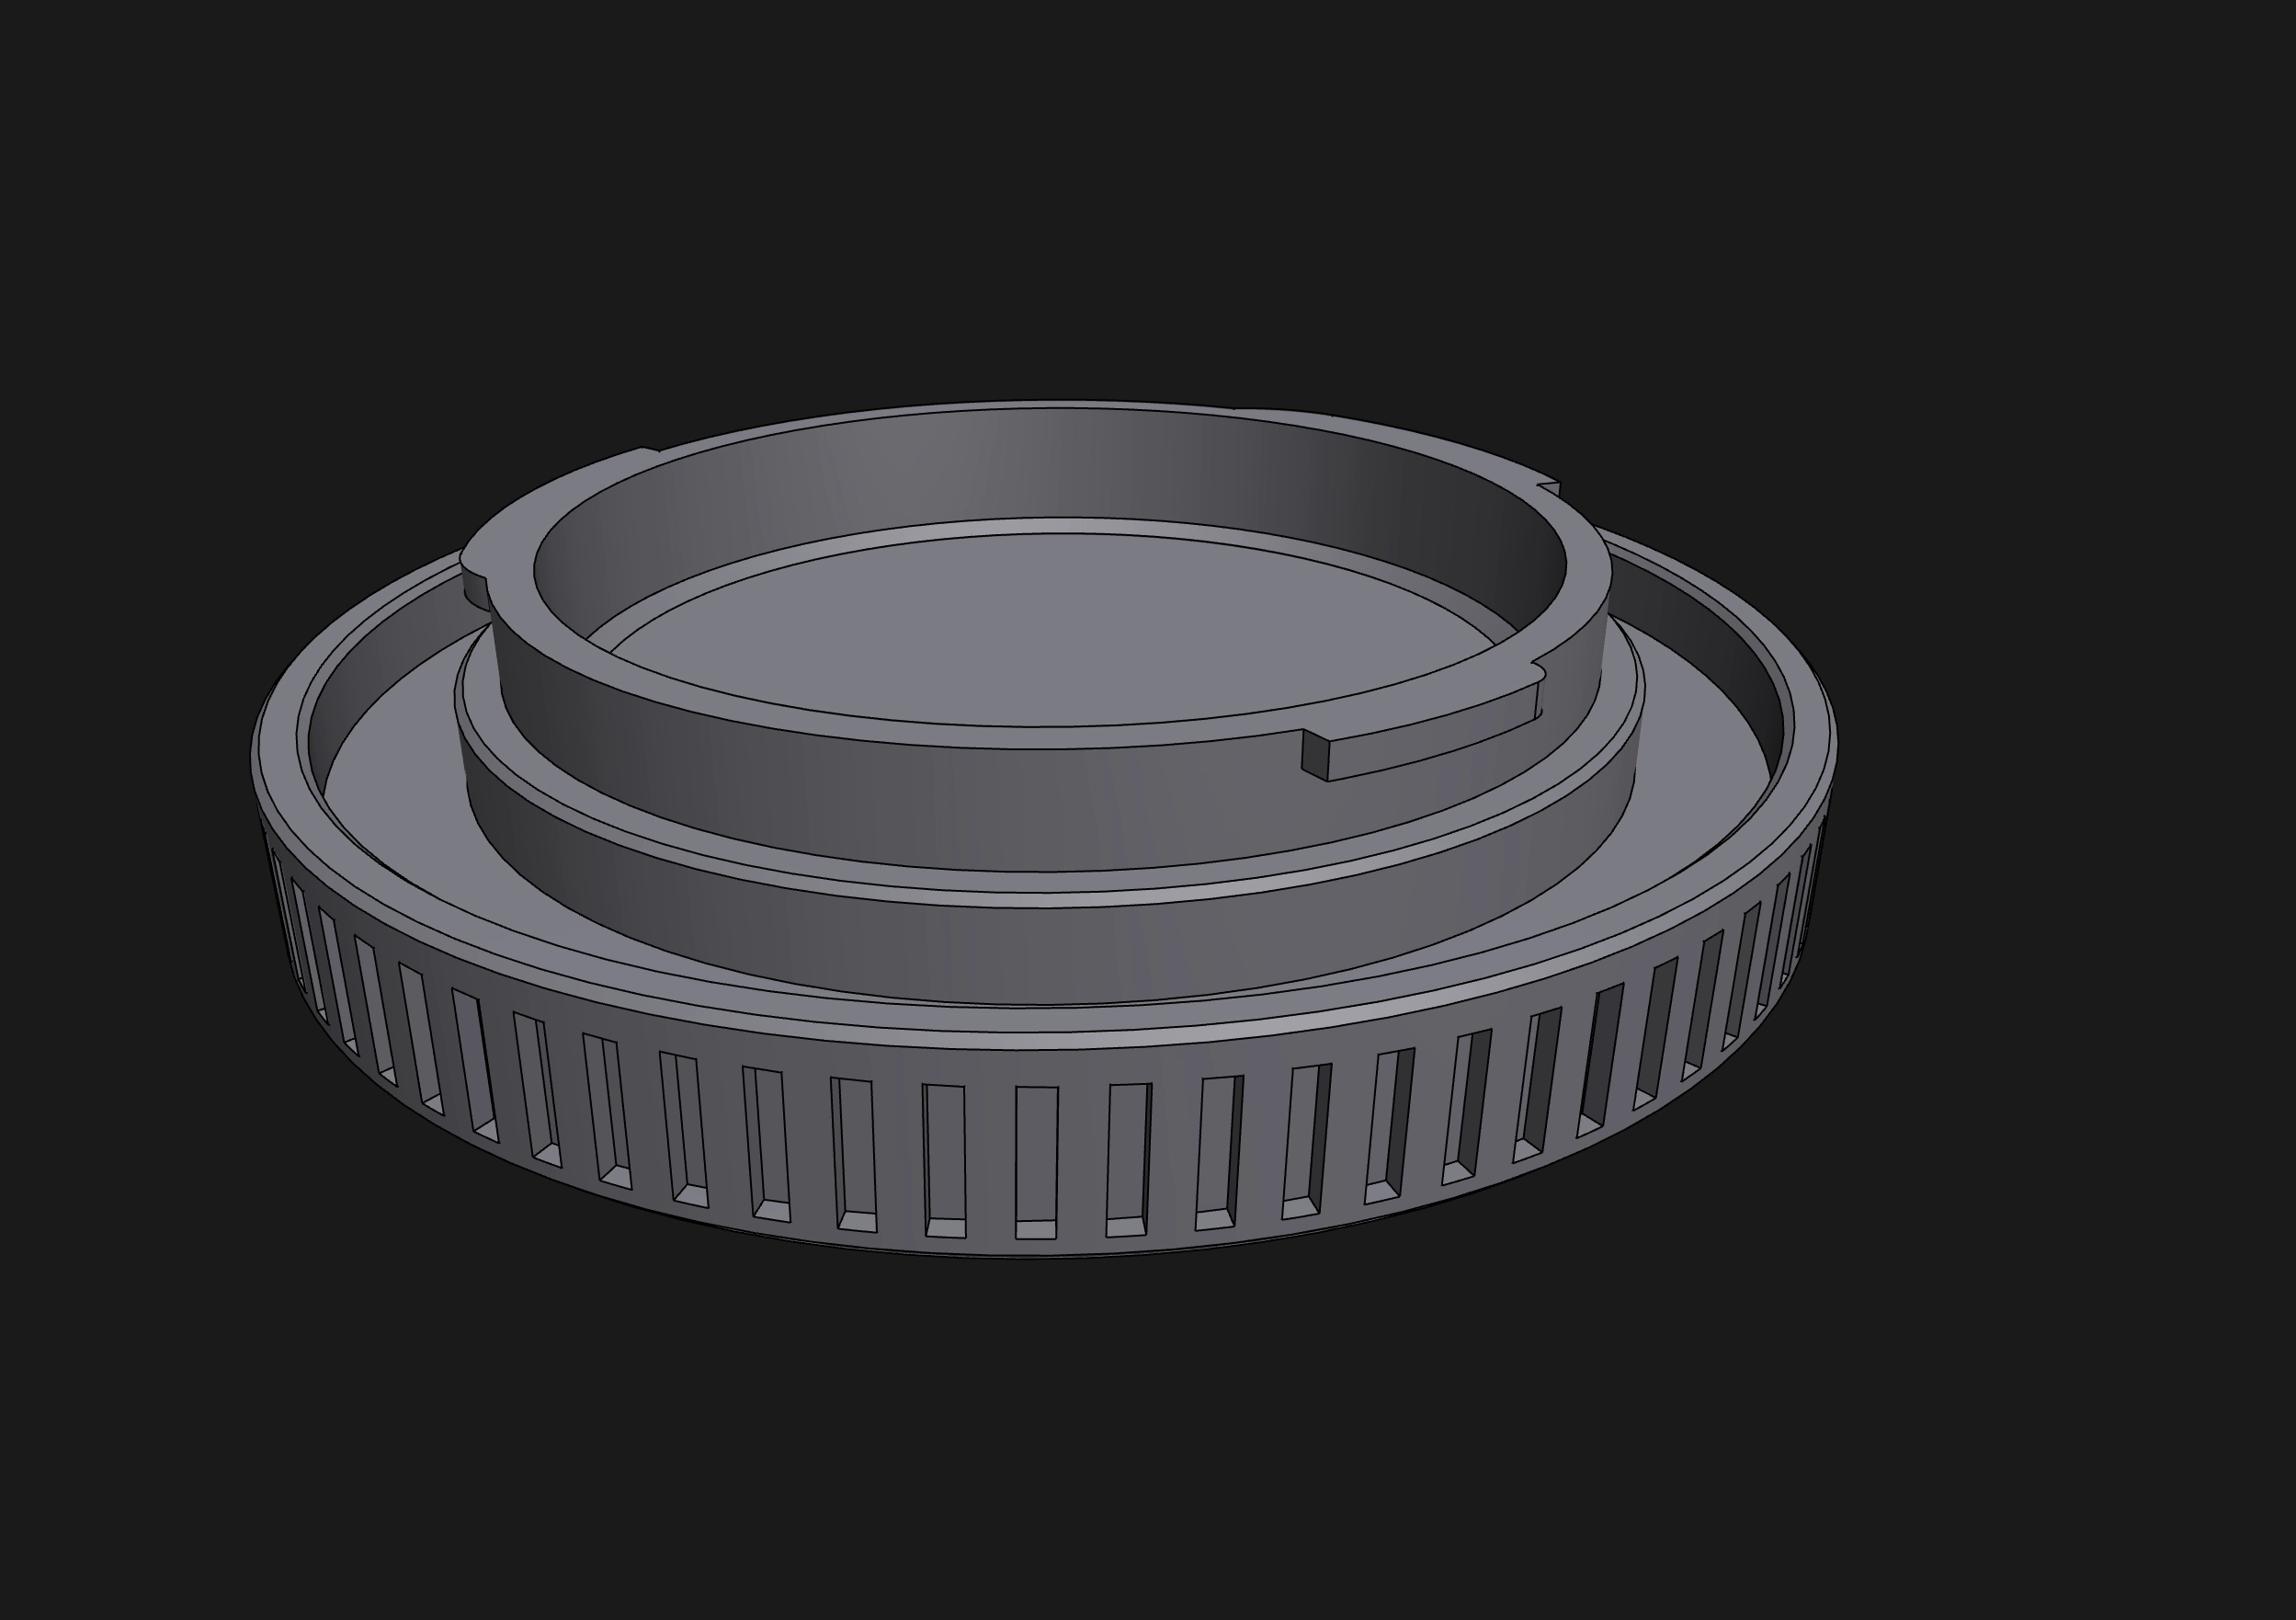
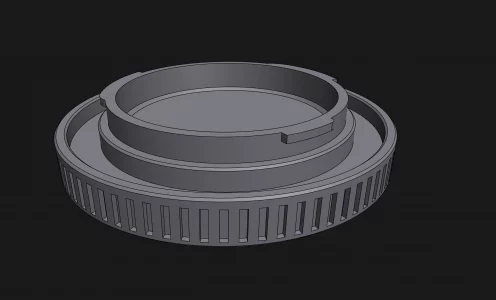
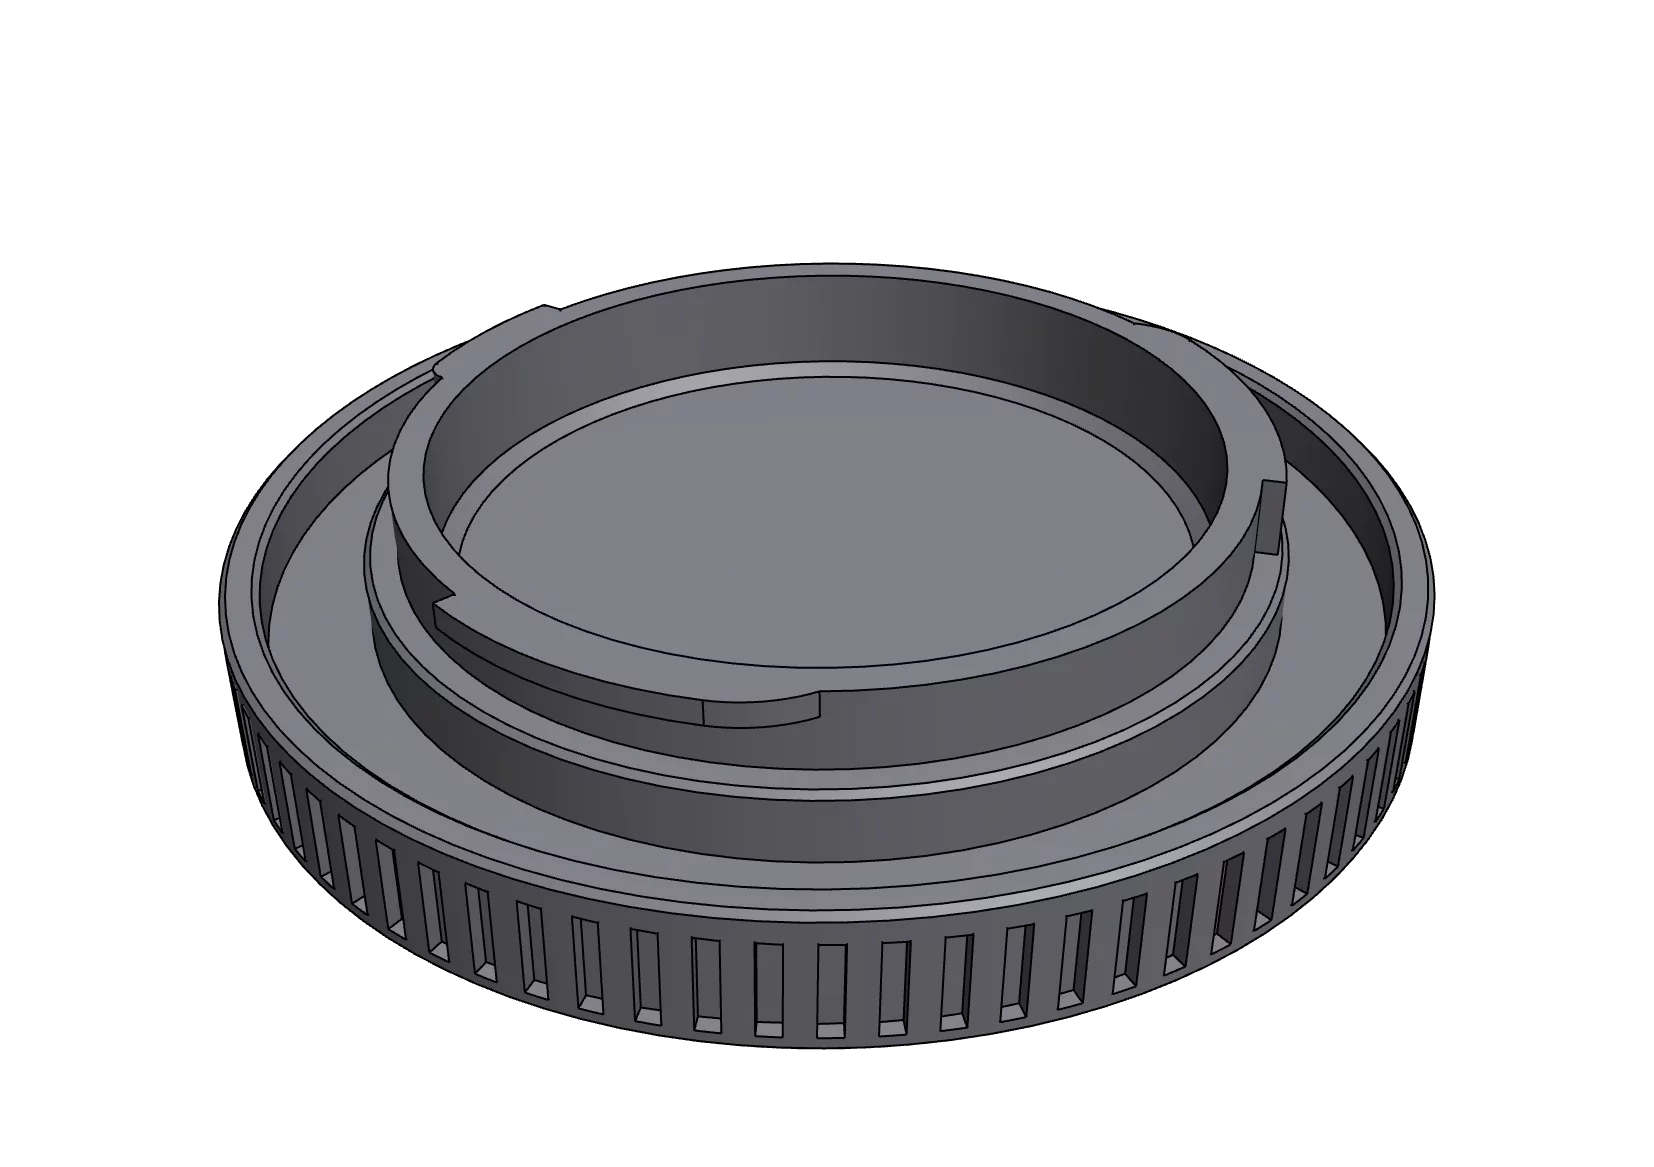
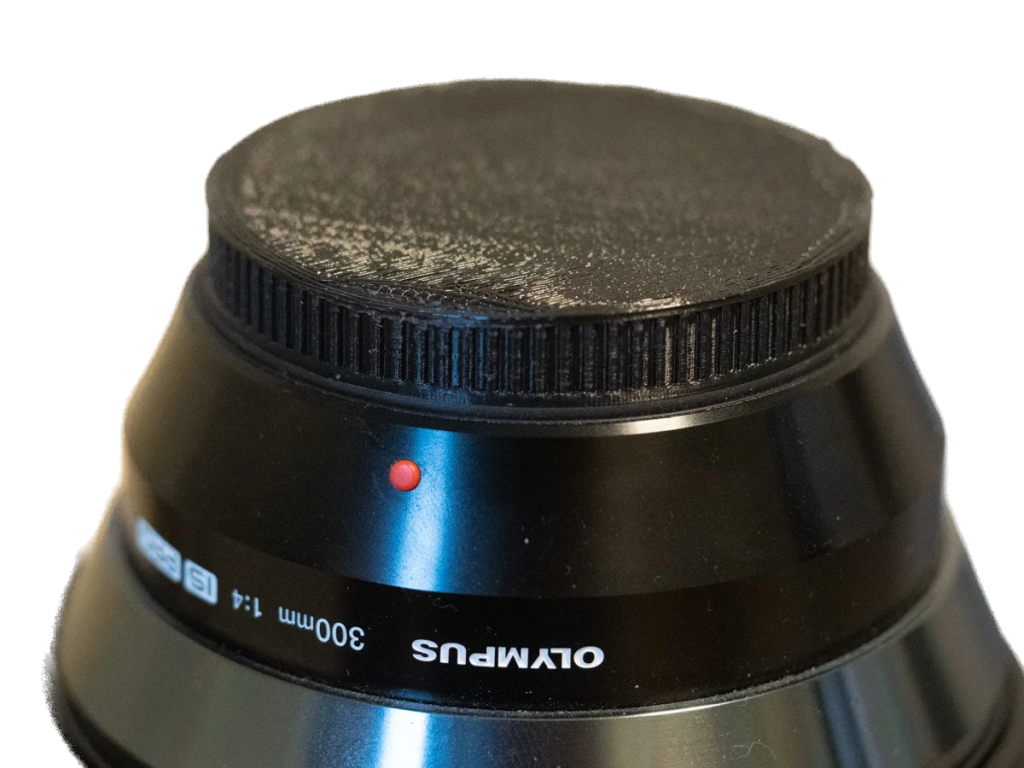
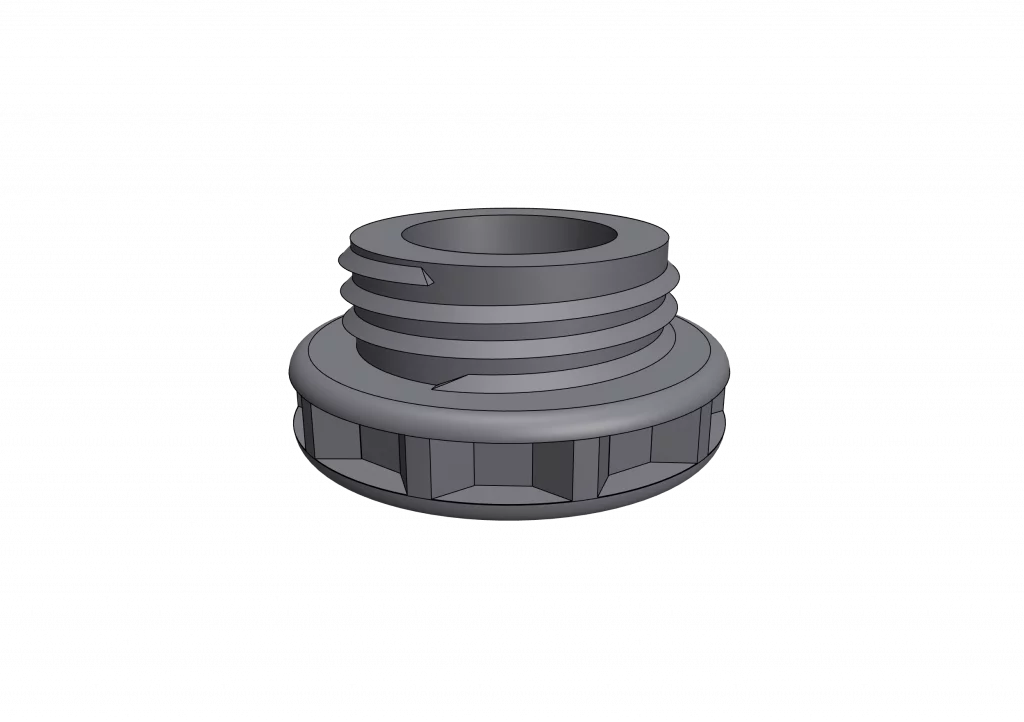
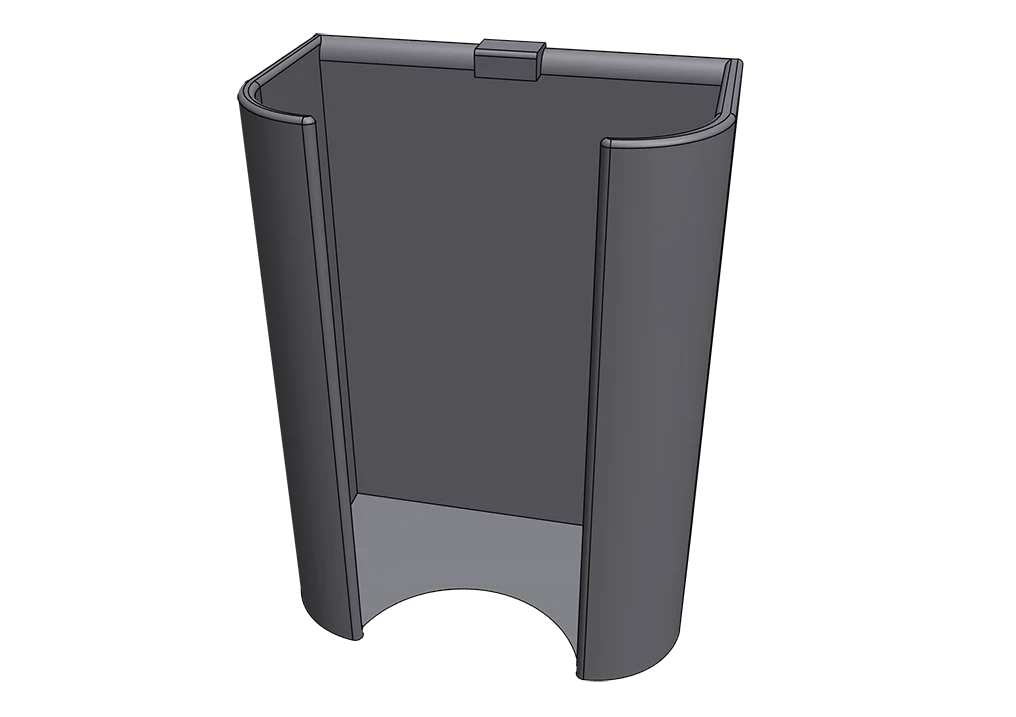
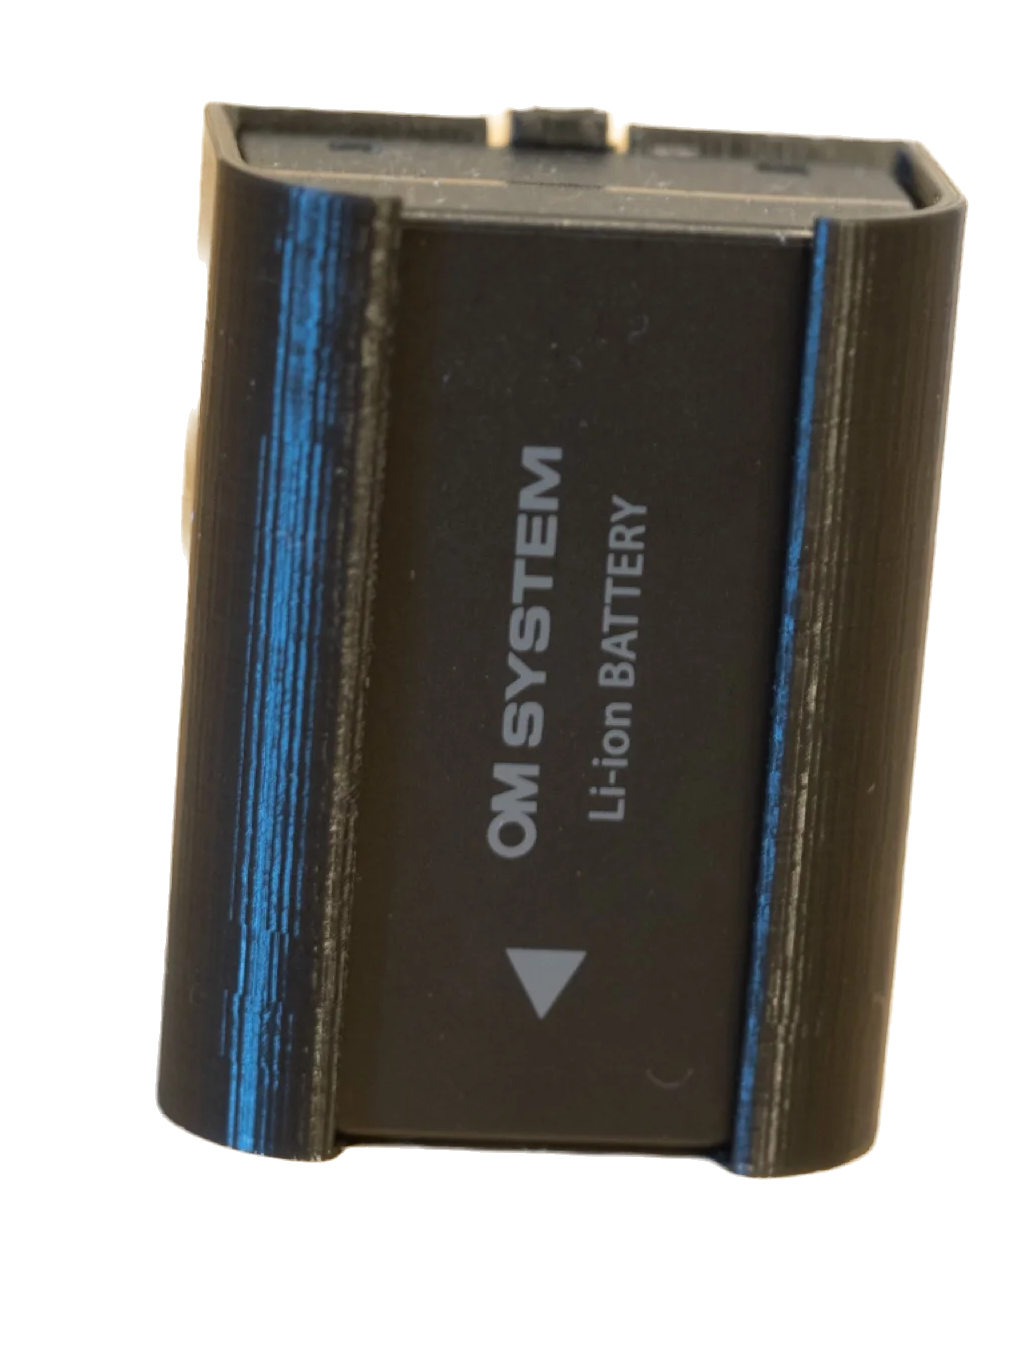
I printed only simple accessories such as a lens cap, body cap and a hot shoe cover so far. However, only a view object cannot be printed with a 3D printer. I already saw a filter holder for the M.Zuiko Digital ED 7-14mm F2.8 PRO which is printed with a 3D printer. In theory, it is even possible to print the cover for the power battery grip, as the flexible filament is also available. Also, wooden accessories or carbon accessories are possible. The appropriate filament is also available for this purpose. As you can see, the possibilities are endless. You just have to let your imagination run wild and think about how best to implement the idea.
My 3D files to print accessories on your own printer
As you can see in the images above, I have already made several accessories for OM System cameras. The dimensions of the caps and the BLX-1 battery case still fit the current bodies (OM-1, OM-1 Mark II, OM-3 and OM-5 Mark II). If you own a 3D printer, feel free to use these files for your own needs.
In case you don’t own a 3d printer, let me know. I can print any part and send it to you. Just write an email, we can discuss the details. When you have your own ideas to realise let me know in the comments. I will have a look and try to make it happen.
Thank you for this excellent article It was very helpful and informative.
Hi Andrew,
So kind of you. Happy that you like it.
Really good to see this post Michael and you seem to have got to grips with 3D Printing technology really well. Can you post some photographs of the models that you have made? It would be interesting to show off the quality you can get when using a relatively inexpensive 3d Printer.
Thanks Alan, yes I have the plan to post also real images as soon as I have time to make them.