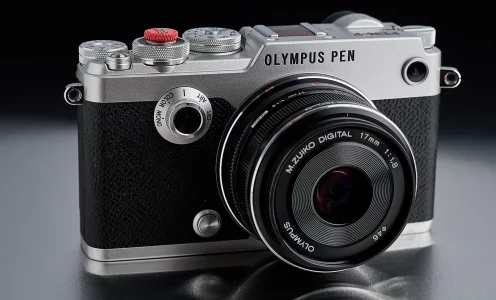
New OM System PEN in the pipeline
Many of you may know that I’m a big fan of the PEN F (the digital version). I regret selling it a while back, as …
Many of you may know that I’m a big fan of the PEN F (the digital version). I regret selling it a while back, as …
Have you always wanted to generate social media posts at scale and publish them automatically on social networks? If you have a concept that is …
OI.Share from OM Digitalsolutions allows you to easily and conveniently download images from your camera directly to your mobile phone. If you take a lot …
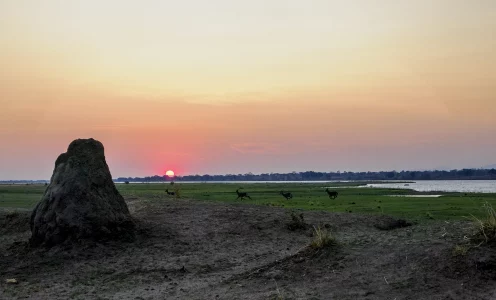
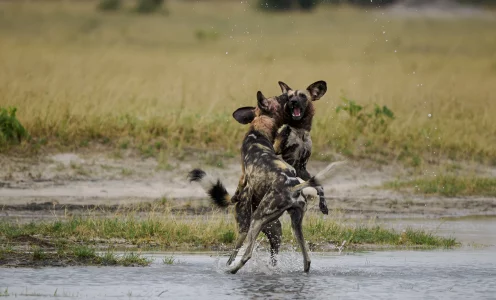
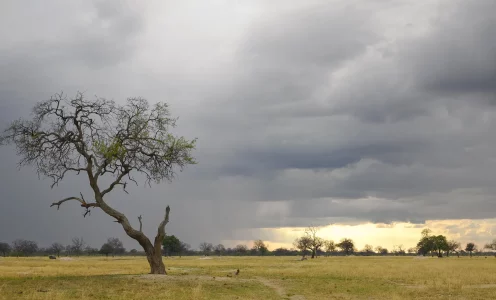
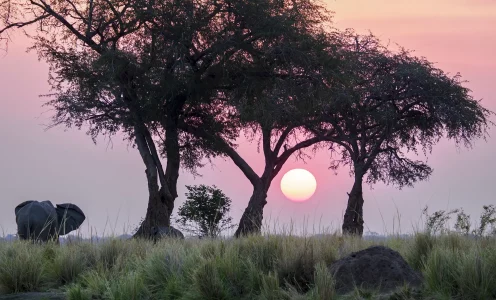
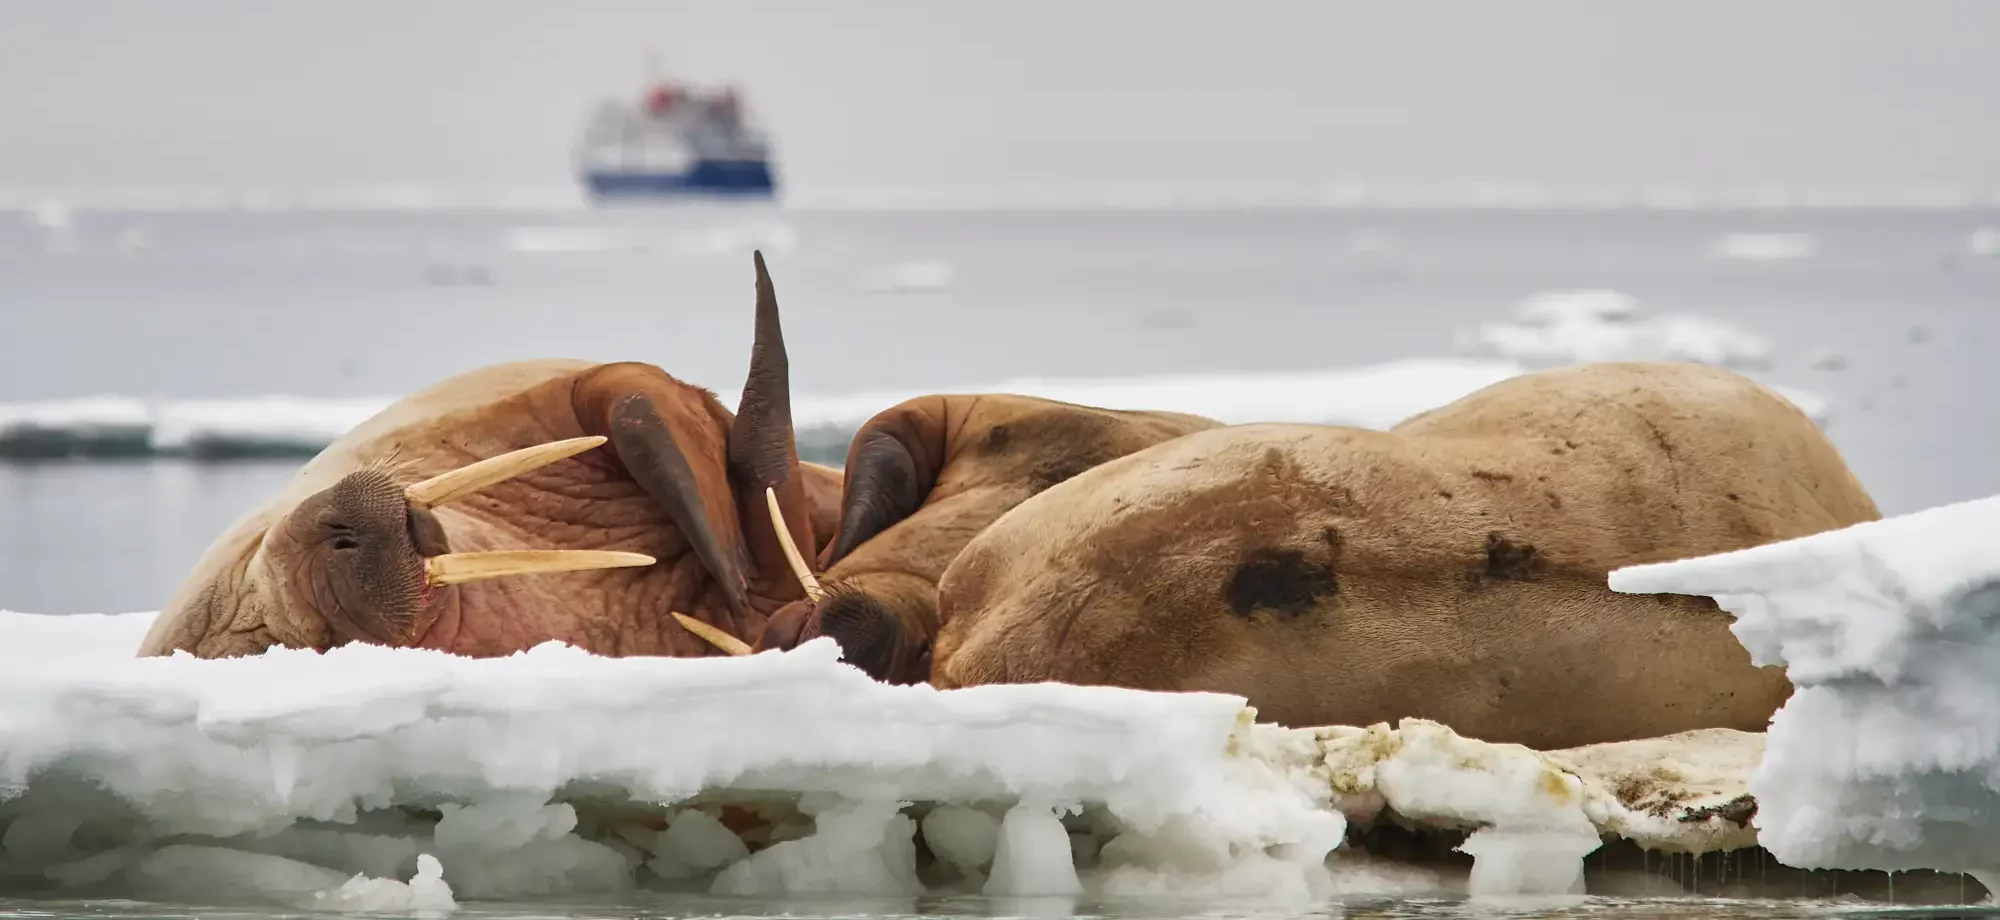
Since I first visited Zimbabwe and Botswana in 2017, these two countries have drawn me in. This year, during my trip to Zimbabwe, I had …
I just returned from an incredible safari in Zimbabwe and had the honor of experiencing two wilderness camps Ruckomechi and Little Makalolo. Ruckomechi is located …