Anyone starting out in bird photography with the OM-1 quickly finds more menu options than expected at first glance – subject detection, AF limiter, AF sensitivity, ProCapture, custom modes. I’ve been photographing birds with the OM-1 for years and have set up every one of these functions so I no longer have to touch them. That’s exactly the setup I show here. From the camera straight out of the box to a finished custom mode that I only need to call up once a bird is in front of the lens.
This article is deliberately written as an overview. For every step I link to the full guide, in case you want to go deeper.
1. Exposure: shutter priority mode with a fixed shutter speed
The most common beginner mistake: shooting in program mode or aperture priority, then wondering why the images come out blurry. For birds, my camera always stays in shutter priority mode: I set the shutter speed, the camera handles the aperture. I photograph perched birds at a minimum of 1/1000s, and for birds in flight I go up to at least 1/2000s.
I’m generous with ISO and let Auto ISO run all the way up to 8000. I’d rather have an image that’s a bit noisy but sharp than one that’s clean but blurry. With modern AI noise reduction in post-processing, ISO 3200 to 8000 isn’t a problem anyway.
I almost never touch exposure compensation for birds. The bird usually takes up only a small part of the frame, so whether its plumage is light or dark barely affects the overall metering. And since I shoot RAW anyway, there’s plenty of room in post-processing to fine-tune the exposure specifically for the bird.
On image stabilization: IBIS and Sync IS help against your own camera shake, not against the bird’s own movement. At the short shutter speeds above it therefore plays a minor role; it matters more for calmer subjects with longer shutter speeds. More on that in Understanding Image Stabilization: What IBIS and Sync IS Really Deliver.
2. Autofocus mode: C-AF instead of S-AF
Birds rarely sit truly still. Even at rest, small head or body movements are enough to throw off a focus point that was set once. That’s why, for birds, I always run C-AF, continuous autofocus, never S-AF.
What technically separates C-AF from S-AF, and how to quickly switch between the two in the field, I explain in two articles:
Before AI subject detection, C-AF+TR, tracking based on color and contrast, was the only way to keep a moving bird in focus. With bird detection enabled, subject detection now takes over that job, and more reliably. Where C-AF+TR still pays off is covered in detail in Autofocus Guide OM-1 – Differences Between C-AF and C-AF+TR.
3. Turning on bird detection (subject recognition)

The single most important switch for bird photography with the OM-1 is AI subject detection, set to “Birds.” The camera reliably detects a bird’s eye and keeps tracking it even during movement, even when the bird is partially hidden behind branches. That saves you most of the manual AF-point work.
How to activate detection, and what it actually locks onto for birds – eye, head, or whole body, depending on distance – I explain in OM SYSTEM OM-1 AI Detection AF.
4. AF field size and the AF limiter
Two settings that are often overlooked but make a real difference for birds sitting in branches.
Choosing the AF field size
Bird detection only works within the selected AF field. It doesn’t automatically search the entire frame for any bird, only within the field area you’ve set. That’s useful when several birds are in the frame: through the field size and position, you tell the camera which bird you actually want in focus.
Using the AF limiter correctly
Contrary to what you might expect, the AF limiter doesn’t reliably stop focus from jumping to the background. Its real benefit lies elsewhere: it narrows the distance range the lens has to search through while focusing. That makes autofocus noticeably faster, because the lens no longer has to rack through its entire focus travel. Details on that in Autofocus Guide OM-1 — AF Limiter and Using the AF Limiter Correctly.
If you want to link spot metering directly to the point you’re focusing on, for example with a light-colored bird against a dark background, I show you how in Autofocus Guide OM-1 – Combining Spot Metering With AF Fields. And in backlight, when the camera simply won’t lock onto the eye, I nudge focus manually: how to do that quickly without switching modes is in Autofocus Guide OM-1 – Combining AF With MF.
5. AF customization: sensitivity and tracking behavior
Under AF customization, meaning AF sensitivity and central start-point sensitivity, you set how “jumpy” the camera reacts when something briefly gets between you and the bird, a branch it flies past, for example. Set too high, focus jumps at every small distraction. Set too low, the camera clings to the old focus point for too long when the bird genuinely changes direction. My values, and when I adjust them, are in Autofocus Guide OM-1 – AF Customization.
6. Burst shooting and ProCapture: the decisive advantage for birds in flight
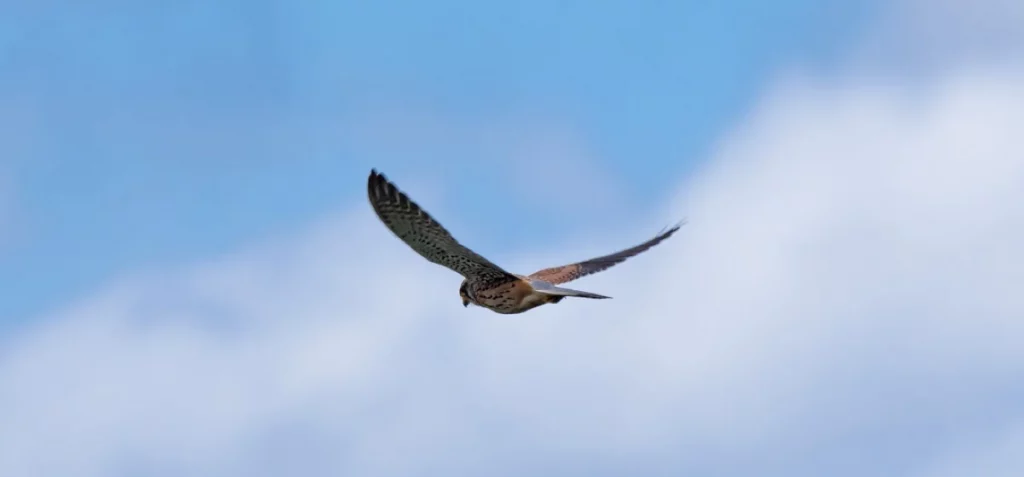
For perched birds, the medium burst mode at 10 to 15 frames per second is entirely sufficient. For flight shots, especially the takeoff moment when a bird lifts off unexpectedly, I use ProCapture. The camera already buffers images before you fully press the shutter release, so you won’t miss the takeoff even if you react a fraction of a second too late.
I keep ProCapture, together with my other bird settings, permanently saved on a custom mode that I can call up instantly via the mode dial, without digging through the menu. The complete setup, including values, is in OM-1 Custom Modes: My Setup for ProCapture and Panorama.
7. Saving the setup as a custom mode
The final step turns individual settings into a real bird setup: everything mentioned above – shutter priority, C-AF, bird subject detection, the AF limiter and ProCapture – saved to one of the custom modes C1 through C4. That way you switch between “bird mode” and, say, landscape with a turn of the dial in the field, instead of hunting through menus while the bird has long since flown off. A compact overview of the most useful shortcuts: Four Essential OM-1 Shortcuts.
8. The right lens
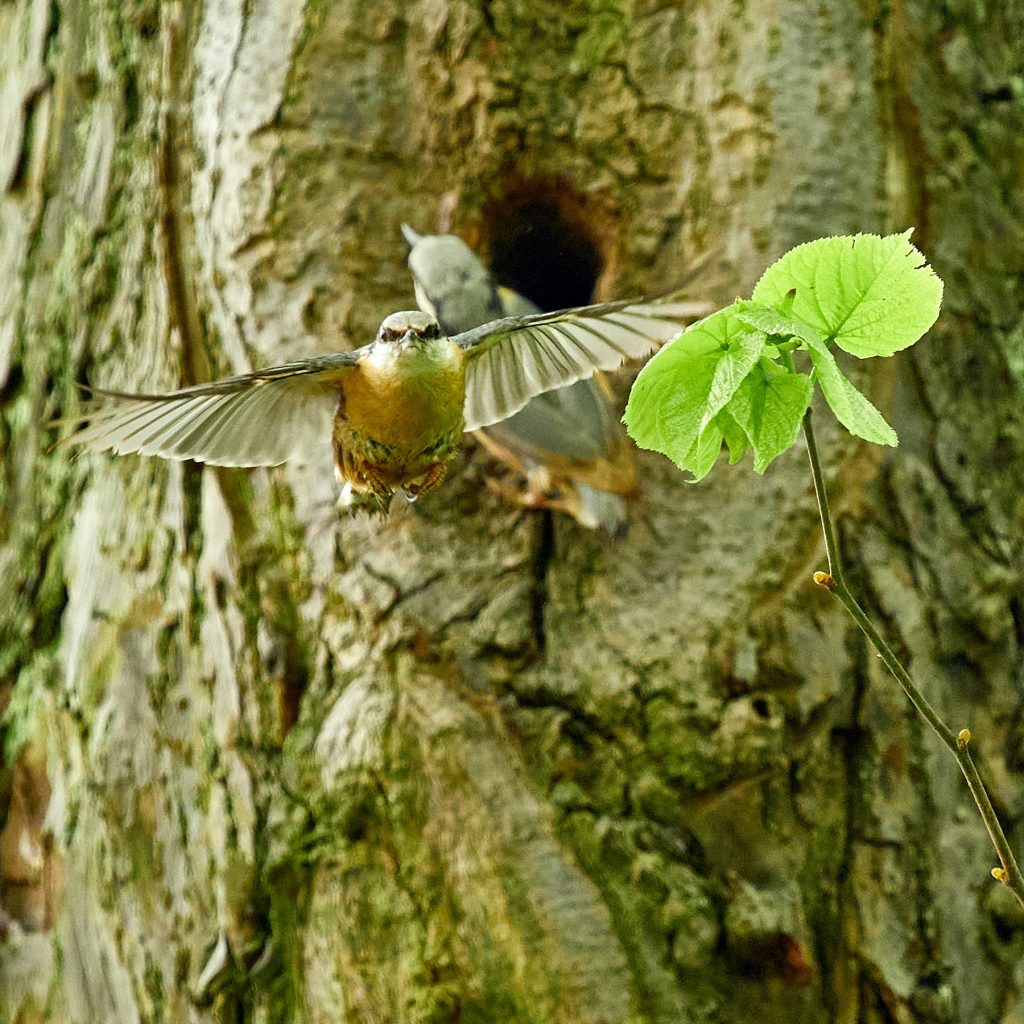
Even the best settings won’t help much without the right focal length. For getting started, you often need less than you’d think. My concrete recommendations by budget and use case are in The Best OM System Lenses for Wildlife.
From setup to practice
With the custom mode saved in the camera, all that’s missing is a bird in front of the lens. Two starting points:
- Getting Started With Bird Photography – Right Outside Your Front Door
- Photographing White-Tailed Eagles
Conclusion
If I had to explain the setup to someone in five minutes: shutter priority, C-AF, bird detection with the right field size, ProCapture for the takeoff, all saved to one custom mode. The real effort isn’t in the settings themselves, it’s in taking the time to set them up once and then leaving them alone. Every building block above is linked if you want to go deeper.