

It was a few years ago now that the coronavirus pandemic turned the world upside down. There wasn’t much you could do back then, so I went for lots of walks in the park around the corner – always with my camera and a telephoto lens. That was when I started photographing birds. Looking back, it wasn’t a bad way to get started – quite the opposite. When beginners ask me today where they should start, I always say the same thing: go to your nearest park.
Why the park? Because it gives you exactly what you need at the beginning: plenty of practice time, birds that don’t fly away immediately, and the freedom to make mistakes without an expensive trip riding on it. I’ll show you how to make the most of that start and what to keep in mind.
Why the city park is the perfect training ground
Short distances mean more practice time
When you’re photographing in the park next door, the distances are short. Have half an hour free? Grab your camera and go. The barrier to getting out is minimal.
There’s a second benefit too: on every walk or jog you can keep an eye out for birds building their nests in spring. Once you’ve found a nest, you simply go back and photograph the bird at your leisure – at a spot you can reach in five minutes, not five hours.
Bird photography is largely a game of patience. And patience is easier to practise when your training ground is right around the corner.

City birds are much less wary
Birds in the city are far more used to people than those in the wild. You can get much closer. That has two advantages: you get birds larger in the frame, and a shorter focal length is often enough. 150 mm in MFT format (equivalent to 300 mm in 35mm) is frequently sufficient for usable shots. You don’t need a 500 mm super-telephoto right from the start.
On top of that, birds in the park sit still for longer. You have time to choose your technique and composition carefully rather than having to react in fractions of a second. That calm makes an enormous difference when you’re just starting out.
Costs stay manageable
A trip to a distant country costs a lot of money, and there’s no guarantee you’ll come back with good images. You might encounter extraordinary birds but still lack the practice to capture them well. The odds aren’t in your favour.
I often found myself preoccupied with the technical side while the bird had long since flown away. You can run through that entire learning curve in the park – for free, as many times as you like – until exposure, autofocus and composition become second nature. Only then does it make sense to spend real money on a photo trip.

Equipment for getting started in bird photography
Which lens do you actually need?
You don’t need an expensive super-telephoto to get started. In the city park, where birds come close, a telephoto zoom in the 100–400 mm range (MFT) is an excellent choice. The M.Zuiko 100–400 mm is my workhorse for wildlife photography with OM System: an enormous focal length range, yet compact and light.
If you want to travel even lighter or keep an eye on budget, take a look at the M.Zuiko 40–150 mm f/4 PRO. In the city park, where ducks, tits and nuthatches come close to the lens, you’ll get further with it than you’d expect. You’ll eventually need more reach for flight shots or shy woodland birds – but until then, you’ll learn a great deal with this lens.
What you don’t need for the city park is a 150–600 mm super-zoom. Those lenses are made for open terrain and long distances. In the park they’re more of a hindrance than a help.
For a detailed overview of all the lenses I recommend for wildlife photography with OM System, see my article on the best OM System lenses for wildlife.
What you won’t need for a while
A common mistake: beginners invest early in expensive gear before they’ve mastered the basics. A camouflage suit, a professional hide or a super-telephoto won’t help you if you don’t yet know when to press the shutter or what shutter speed you need. Those things will make sense eventually – but only once you’re comfortable with the technical side. For now, the shorter focal lengths are enough.
Camera settings for bird photography
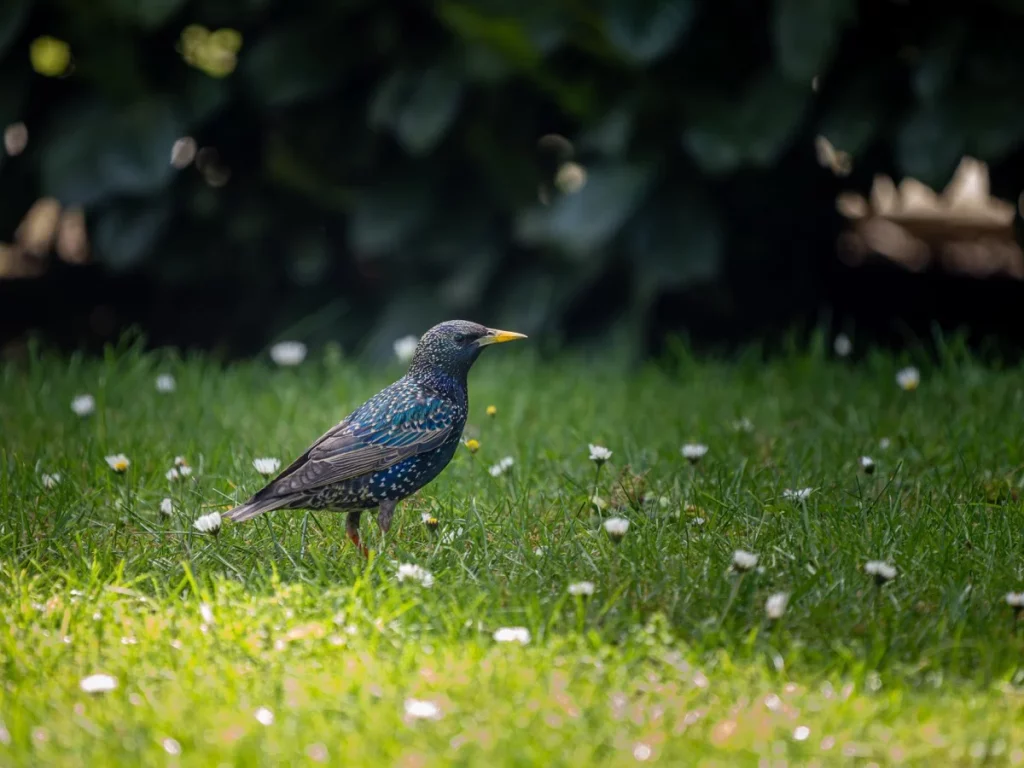
Many beginners use Program mode or Aperture Priority and wonder why their images are blurry. The answer is almost always the same: the shutter speed is too slow. That’s why I recommend Shutter Priority (S mode). You set the shutter speed and the camera takes care of aperture and sensitivity.
Setting up autofocus correctly
If you’re shooting with an OM System camera, make sure you activate Bird/Animal Detection AF. The camera reliably detects bird eyes and keeps them in focus even when the subject is moving – which saves beginners a great deal of frustration.
I also recommend C-AF (continuous autofocus) rather than S-AF, because birds are rarely completely still. Even when a bird is feeding, small movements are enough to throw the focus off. With C-AF and Bird Detection that doesn’t happen – the camera simply tracks the focus.
For burst mode, a medium speed (10 to 15 frames per second) is perfectly adequate for perched birds. You need the high-speed mode of up to 50 fps mainly for flight shots, when you want to catch the exact wing position. For those shots I’d recommend ProCapture straight away – it doesn’t matter if you press the shutter a fraction too late because the bird took off unexpectedly.
Shutter speed, ISO and image stabilisation
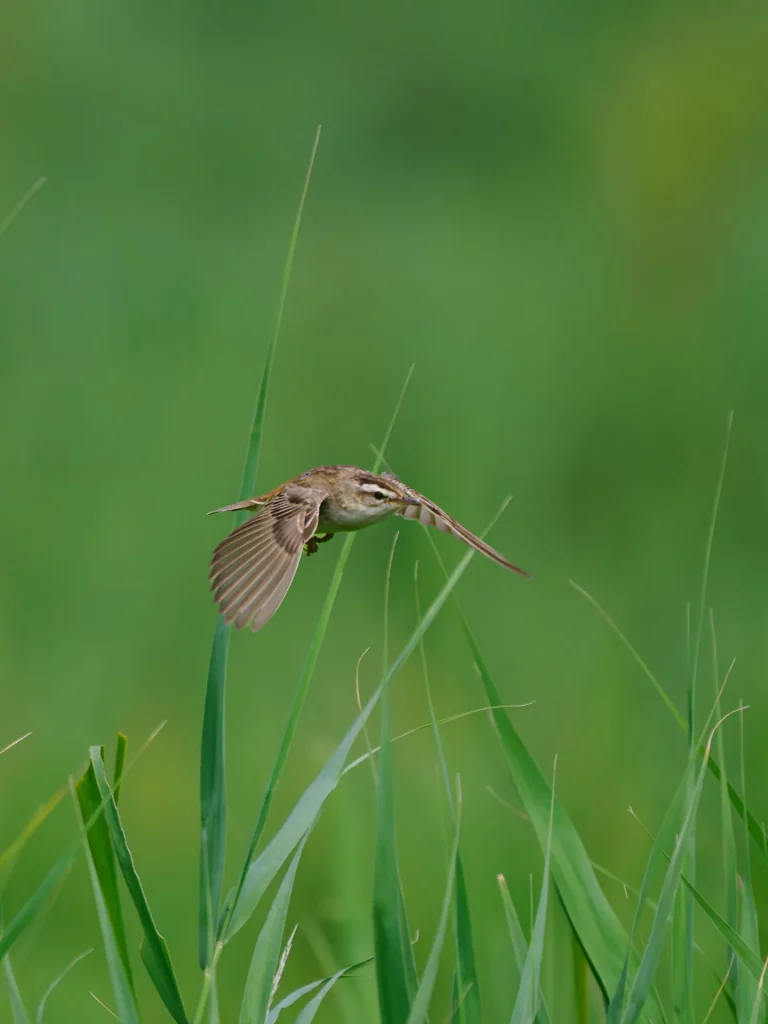
The most important setting in bird photography is shutter speed. My rule of thumb: at least 1/1000 s for perched birds, at least 1/2000 s for birds in flight. Short shutter speeds mean a wider aperture, which has a nice side effect: the bird separates cleanly from the background.
Don’t be afraid of high ISO values. Modern sensors, even in MFT format, still deliver good results at ISO 3200 or even 8000 when you use a modern AI noise reduction tool in post-processing. Anyone who worries too much about ISO and therefore uses slower shutter speeds is guaranteed to get blurry images. A noisy, sharp image beats a clean, blurry one every time.
The image stabilisation in OM System cameras is excellent, but it only compensates for your own camera shake. It can’t do anything about the bird’s own movement. So the priority is always: short shutter speed first, everything else second.
When and where to photograph
Making the most of golden hour
Even in the city park, light determines the quality of the image. The one to two hours after sunrise and the hours before sunset deliver the softest light – and those are also the times when birds are most active. A short walk before work in the morning often yields more than two hours at midday.
The best spots in the park
Not every spot in the park is equally productive. In my experience, the most rewarding are the water areas: ducks, coots and great crested grebes can often be observed from very close range – in summer with their chicks, in winter huddled together on the last ice-free patches.
In winter, feeding stations are also worth checking. When food is scarce, birds become noticeably more approachable. If you know a feeding station in the park, you have a reliable source for bullfinches, tits and more throughout the winter months.
The third address is forest edges and bushes. Blackbirds, robins and chaffinches like to gather in these transition zones. A woodland edge with adjacent open lawn is particularly productive.
As a general rule: the fewer people passing a spot, the calmer the birds. Quiet paths away from the main route are almost always the better choice.
What’s interesting in each season
In spring, everything revolves around courtship and nest building. Birds are territorial, singing persistently from exposed perches and making themselves particularly easy to photograph. In summer, feeding the fledglings follows – and the still-clumsy young birds are wonderful subjects. In autumn, migratory birds rest on their passage through. And in winter, birds concentrate at food sources, giving you reliable spots for portraits.
Which birds will you find in the city park?
A small selection of common subjects I’ve photographed regularly in the city park:
Nuthatches are the only birds that walk headfirst down tree trunks, making them easy to identify. They become surprisingly tame when you stay still and quiet.
Robins often come very close in winter and love to perch on low, exposed branches. A very rewarding subject for portraits.
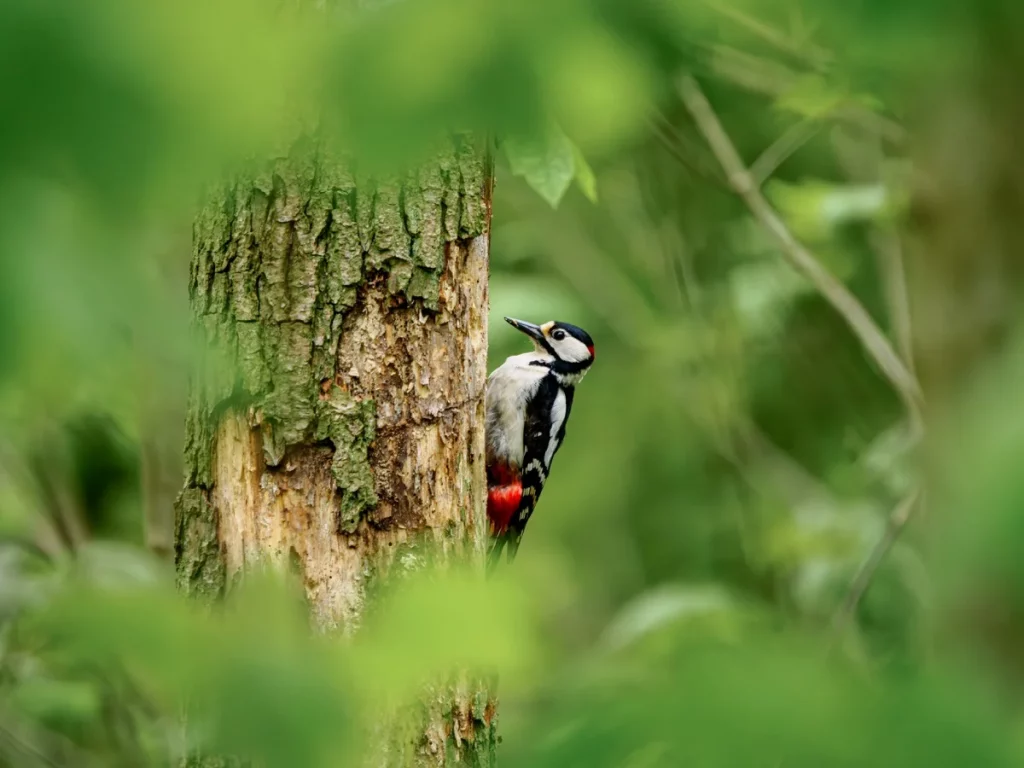
Great spotted woodpeckers and green woodpeckers hammer persistently at trunks. If you hear one, you know where it is – and it usually doesn’t fly away immediately.
The kingfisher is the dream of many city photographers and is genuinely found along many urban streams and lakes. It needs clear water with low-hanging perch branches, and more patience than most other subjects.
Ducks, great crested grebes and coots are the most reliable subjects in the park. Perfect for practising autofocus, even with a shorter focal length.
Patience instead of pursuit
The biggest mistake beginners make: they stalk towards birds as if hunting them. The opposite works better. Find a spot with good light and wait, instead of chasing. Birds will almost always come closer on their own if you stay calm and avoid sudden movements.
The electronic shutter helps prevent birds from being startled by the shutter sound – particularly important with shy woodland birds that are very sensitive to noise.
Anyone who brings a little patience quickly notices: the best images almost always come in the second or third quarter-hour at the same spot, not the first. Let the bird come to you, not the other way around.
When the park isn’t enough: First locations in Germany
Once you’ve learned the basics in the city park and want to take the next step, these destinations are worth the journey:
The Mecklenburg Lake District is Germany’s white-tailed eagle paradise, with the densest eagle population outside Scandinavia. Anyone who plans a full day there will almost certainly see one. More on that in my article on photographing white-tailed eagles.
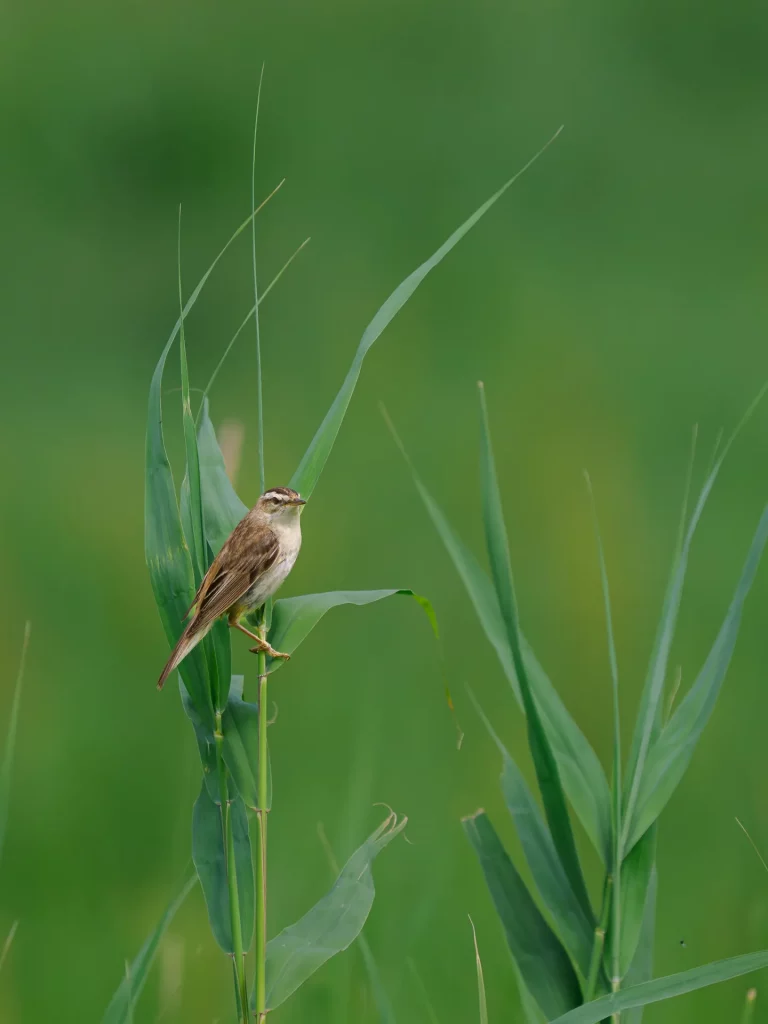
At Lake Neusiedl (Austria/Hungary) you’ll find herons, storks, cranes and bearded tits in a single nature reserve. An excellent introduction to reed-bed birds and waterbirds.
The Wadden Sea National Park offers waders, seabirds and grey seals in summer. In autumn, when migratory birds rest in their thousands, it’s spectacular.
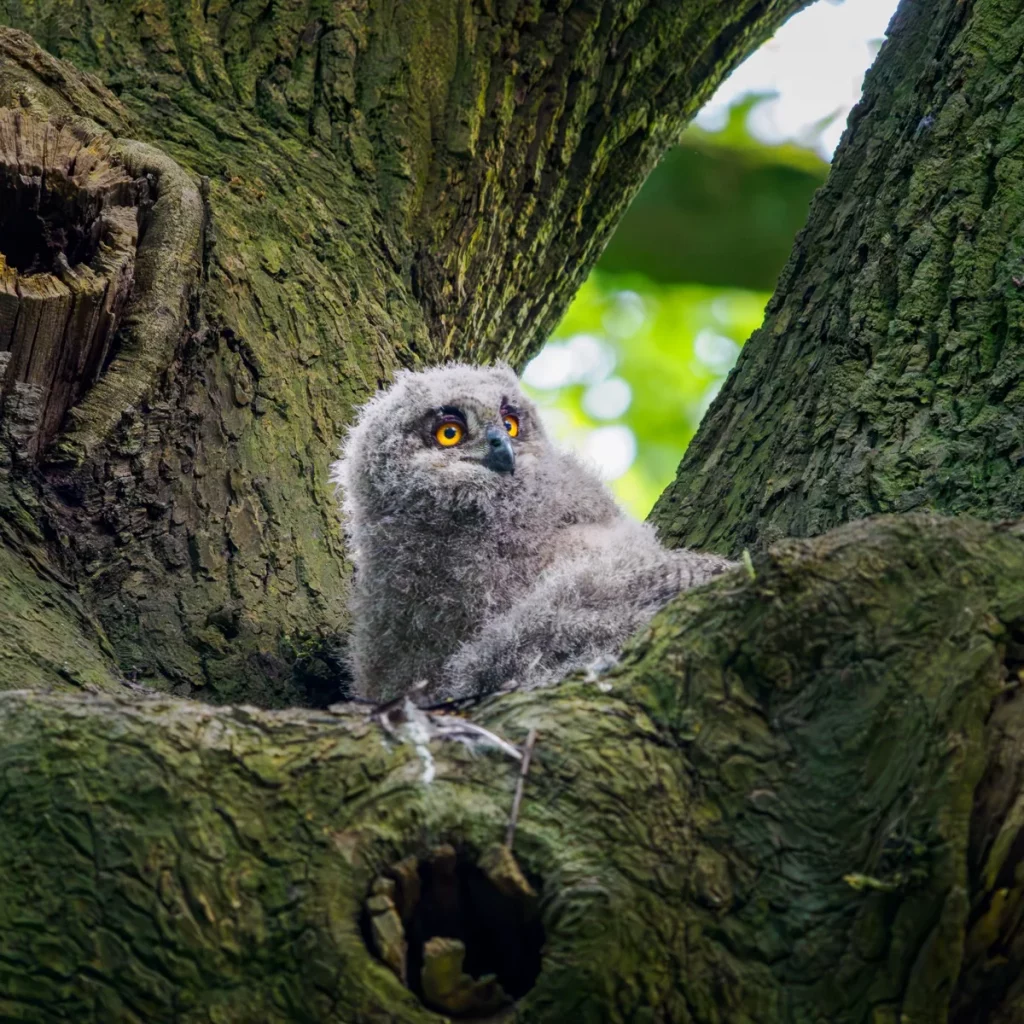
You can also simply look for a nature reserve near where you live. Around Hamburg, for example, there are several that aren’t far from the city yet have real potential for outstanding images. One example is Duvenstedter Brook: alongside cranes and red deer, you can even find nesting owls right beside the path in spring.
Summary
The city park is an underrated learning ground for bird photography. Short distances, low costs and approachable birds give you the opportunity to practise and experiment at your own pace while learning technique and composition in a relaxed environment. Add the right camera settings, a little patience and an understanding of when and where to find the best subjects – and you have the ideal preparation for more challenging terrain.
The next step into the wild will come naturally from there. And when it does, you’ll be ready.
Do you have your own training park where you first started out? Feel free to share it in the comments!
For the complete setup, see OM-1 Settings for Bird Photography – the hub page with all the settings at a glance.