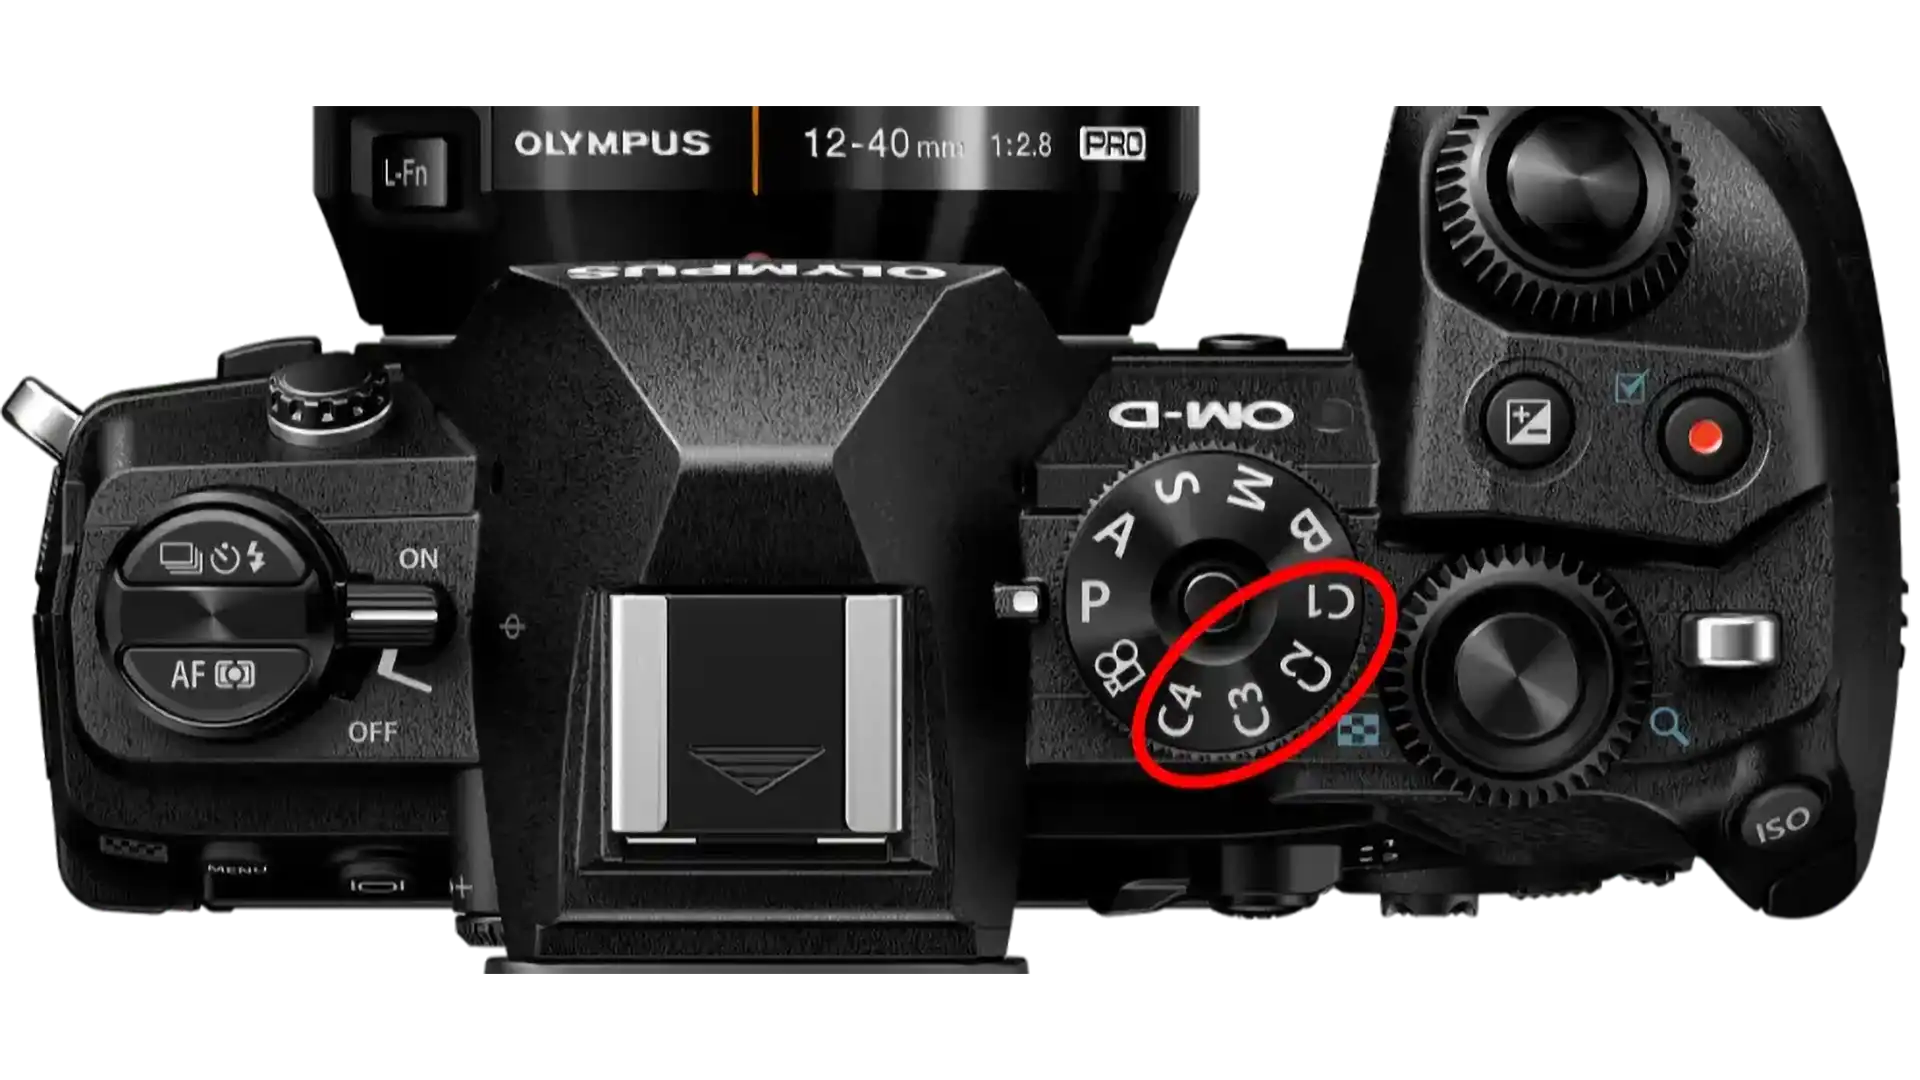
The OM-D cameras of the E-M1 series let you save up to four custom setups on the mode dial, so you can recall them quickly at any time. There are a few things to keep in mind here, because otherwise you can easily get confused as a photographer. In the following, I want to show you how to go about this properly and what else you can do to switch between your settings even faster.
Preparations
Because a custom setup stores every single setting, you first need to make all the settings that form your base configuration and that should apply across every shooting mode. For example, I always turn off the confirmation beep for autofocus and the option that resets lenses to infinity when the camera is switched off. But settings such as the autofocus mode and the default button assignments should also be in place before you start programming any custom modes.
Tip: configuring custom modes correctly
At this stage, I have already programmed the buttons I use to switch quickly between the individual custom modes. Since I only use C1 and C2, I assign the two front buttons next to the lens.
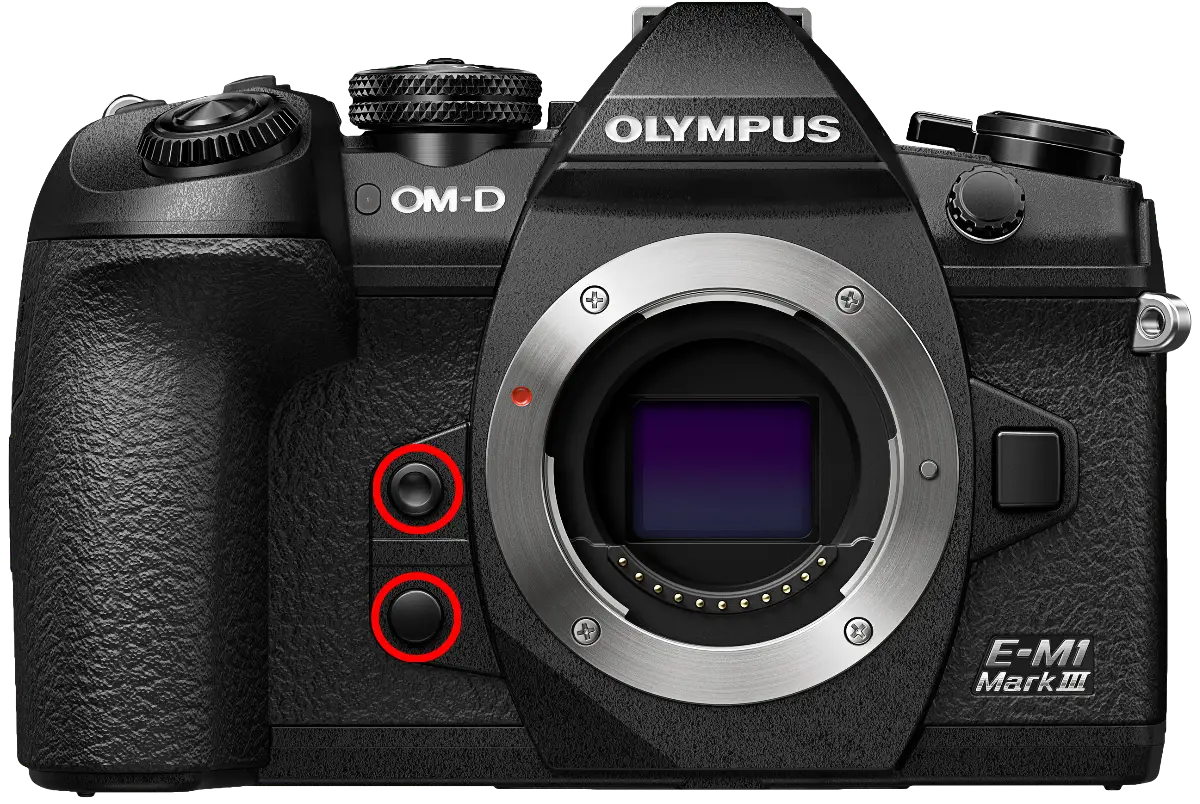
This has the advantage that these buttons are then assigned identically in C1 mode and C2 mode and behave the same way. Otherwise, it can get very confusing and drive you up the wall.
Programming the custom modes
Once all the shared settings are in place, you can move on to configuring the custom modes properly. For me, there isn’t all that much to it. On C1, I assign ProCapture mode H and on C2, ProCapture mode L, so I can switch quickly between ProCapture with focusing between frames and ProCapture without refocusing the frames.

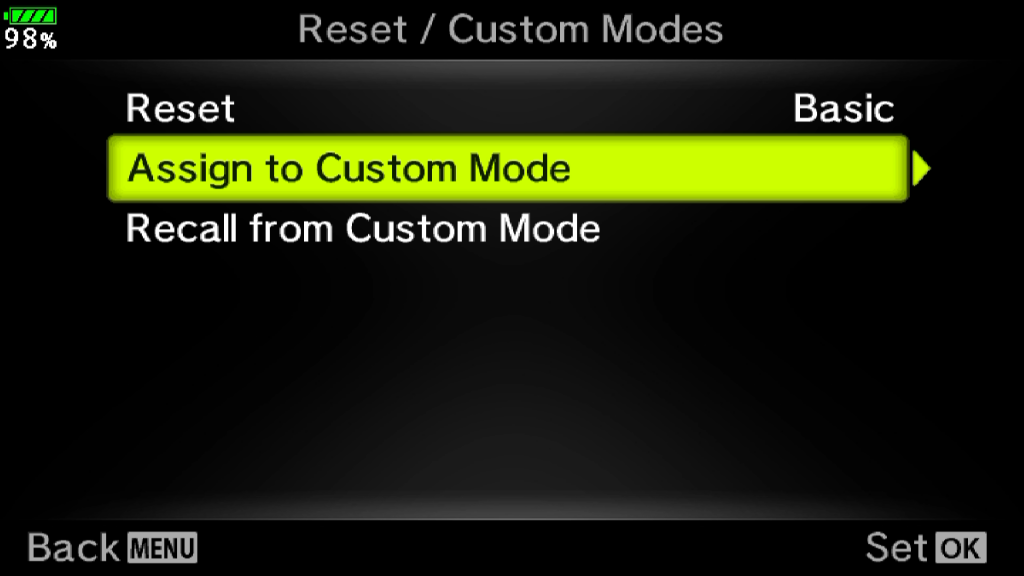
1 Make all the settings you want to assign to C1, then go to Camera Menu 1. Here you will find the entry “Reset/Custom Modes”; confirm with “OK”.
2 Here you select “Assign Custom Mode” and press the “OK” button again.
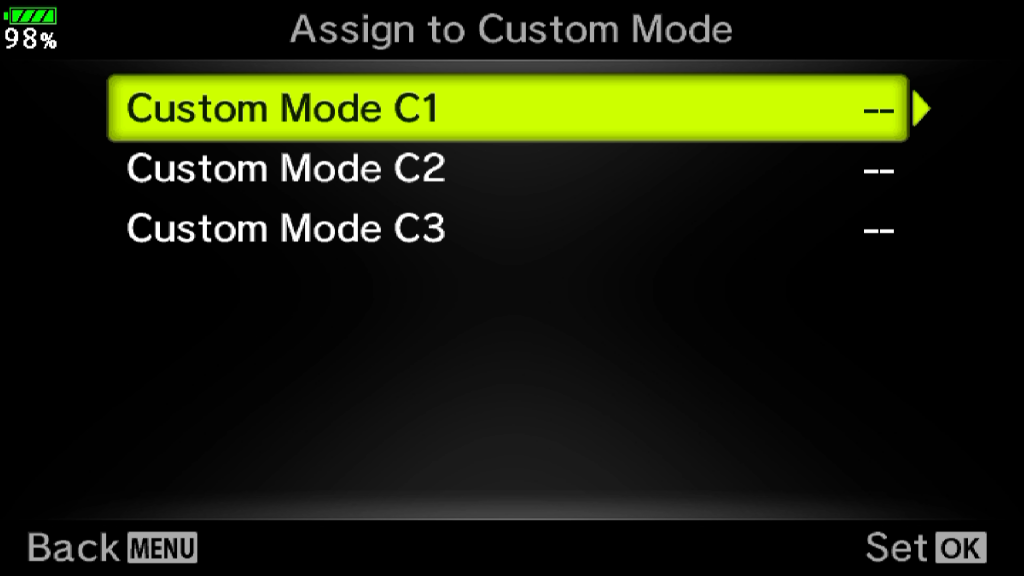
3 Select the C mode you want to program your settings onto.
Now it is especially important that you first undo the settings you do not want to carry over to the next C mode. After that, you can make the new settings and repeat steps 1 to 3.
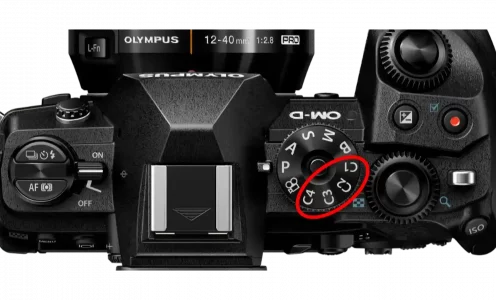
Quickly recalling your custom settings
Provided you have programmed buttons, there are two ways to recall one of the programmed modes. Either via the mode dial or by switching to the corresponding C mode. During shooting, however, this is relatively slow and therefore unsuitable for situations where you have to be quick. That is why I prefer to switch using the buttons. By pressing the button, you can switch the mode on and straight back off again. That is the fastest way to activate a C mode.