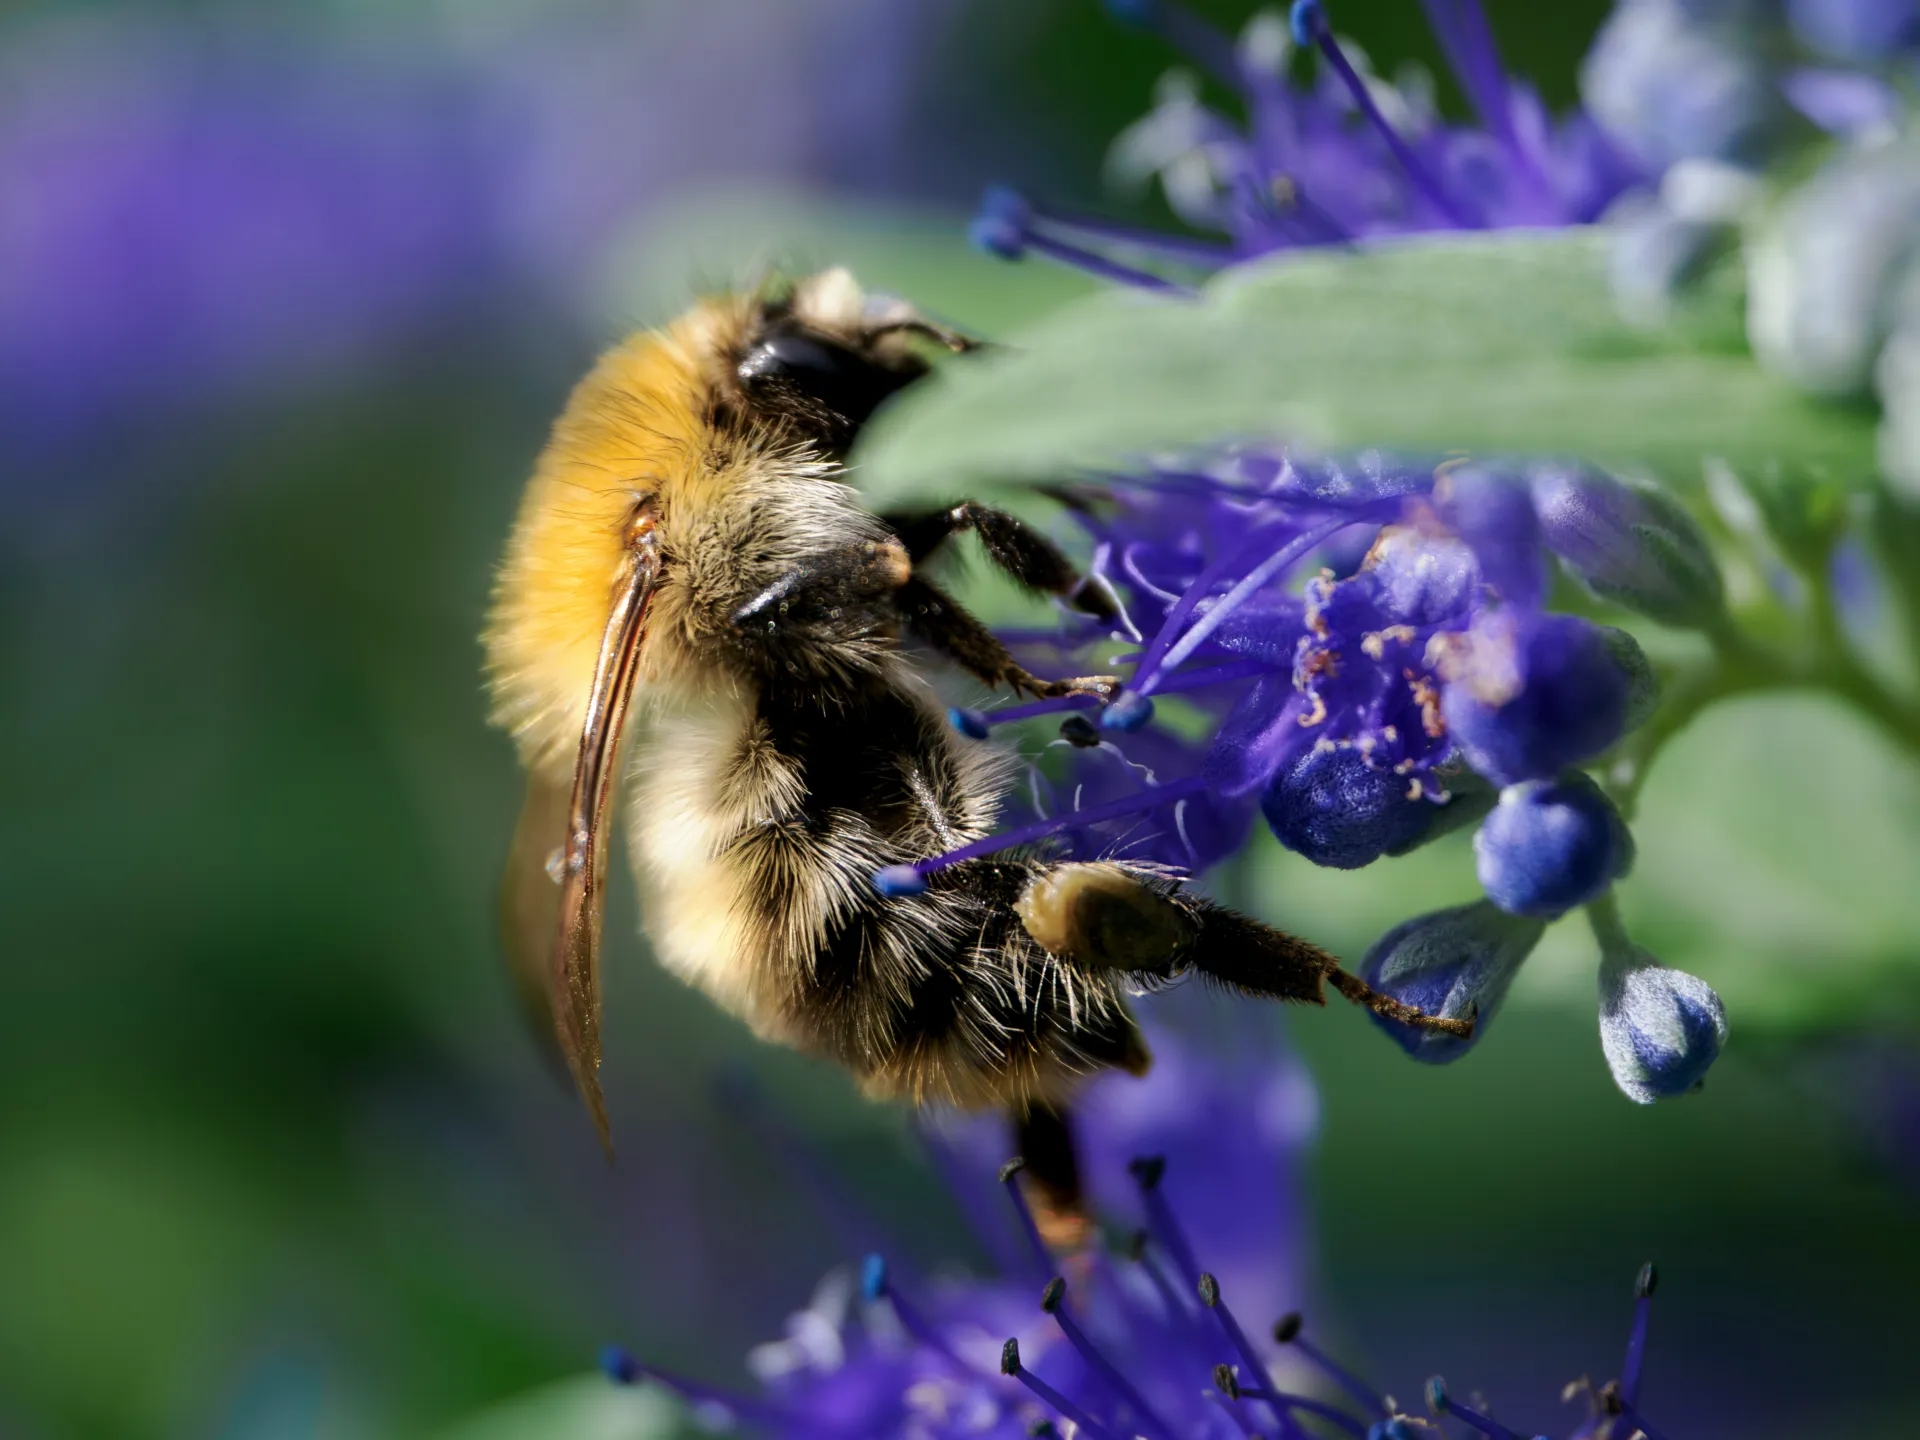

Macro photography is a special field of photography with its own set of challenges that don’t really show up in regular photography. When you start out, you’ll quickly notice that getting a blurred background is surprisingly easy, unlike in “normal” photography. That’s because the distance to your subject matters just as much as aperture and focal length for how blurred the background turns out. Micro Four Thirds does have an advantage over 35mm cameras here, but even so, you’ll hit the same wall pretty fast: the zone of sharp focus gets too thin.

Not every Olympus/OM Digital Solutions lens is equally well suited for macro. Which of the three macro lenses is right for you is something I cover in my comparison of OM System macro lenses.
I’m currently testing the M.Zuiko Digital 90mm F3.5 Macro (I’ll publish that review later), and with this long focal length you hit the limits of depth of field very quickly.
This article covers the basics behind that: why depth of field is your biggest problem in macro, why the obvious fix, stopping down, doesn’t really help, and what works instead. I’ve already covered exactly how to set up focus stacking and focus bracketing on your camera, menus included, in Focus stacking and focus bracketing.
The basics
Depth of field in macro photography
In macro photography, you’re typically very close to your subject. Since depth of field depends heavily on subject distance, it ends up very shallow regardless of sensor format. Unlike in regular photography, that means you constantly have to deal with too little depth of field. Micro Four Thirds does have some advantages over the 35mm format here, but you still won’t get around using methods that extend depth of field.
Handheld or tripod?
Depth of field also affects whether you can shoot a macro handheld or need a tripod. Usually, even the slightest movement shifts the focus point enough that the area you wanted sharp no longer is. That’s why you’ll get the best results using a tripod, especially when working at high magnification ratios.
What about light?
As always in photography, light plays a big role in whether a shot works or not. In macro photography, you often need a separate light source. That’s because the high magnification ratio means the lens swallows more light. On top of that, you’re often shooting with a narrow aperture in macro to increase depth of field. A flash diffuser helps here, and so do standalone LED lights.


Why not just stop down?
As mentioned above, you can partly compensate for the shallow depth of field in macro photography by stopping down. That comes with a few downsides though, ones that focus stacking or focus bracketing avoid. Stopping down doesn’t just affect the depth of field right at your subject, it also changes the background. In other words, you lose the very thing that makes a macro shot striking. On top of that, from around f/5.6–8 you start losing resolution to diffraction, meaning your image won’t look as sharp as you’re used to from your camera. But there’s another downside to stopping down: less light reaches the sensor. That leaves you with either a higher ISO or a separate light source.
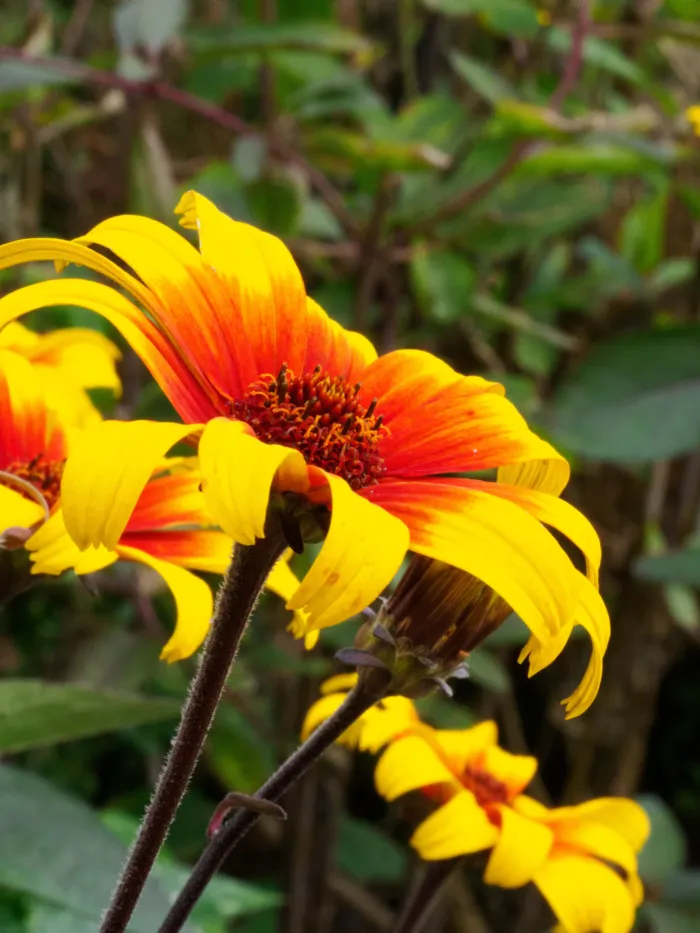

If your subject is static, focus stacking or focus bracketing can help here. Both sometimes work with moving subjects too, but that’s more the exception than the rule.
Focus stacking and focus bracketing at a glance
Focus stacking and focus bracketing solve exactly that: more depth of field without the downsides of stopping down. Both rely on the same basic principle, only where the images get combined at the end differs.
With focus stacking, the camera automatically shoots a series of images and shifts the focus point a bit further with each shot. Right after that, it combines the series itself into a single JPEG with sharpness throughout. So you get a finished result immediately, without having to do anything on a computer yourself.
With focus bracketing, the shooting process is the same, but the camera only gives you the individual images from the series, optionally as RAW. Combining them into one image with sharpness throughout is something you do yourself on a computer, for example with Helicon Focus, OM Workspace, or Photoshop. That extra effort is worth it if you want full control over the result or want to keep working with the RAW files.

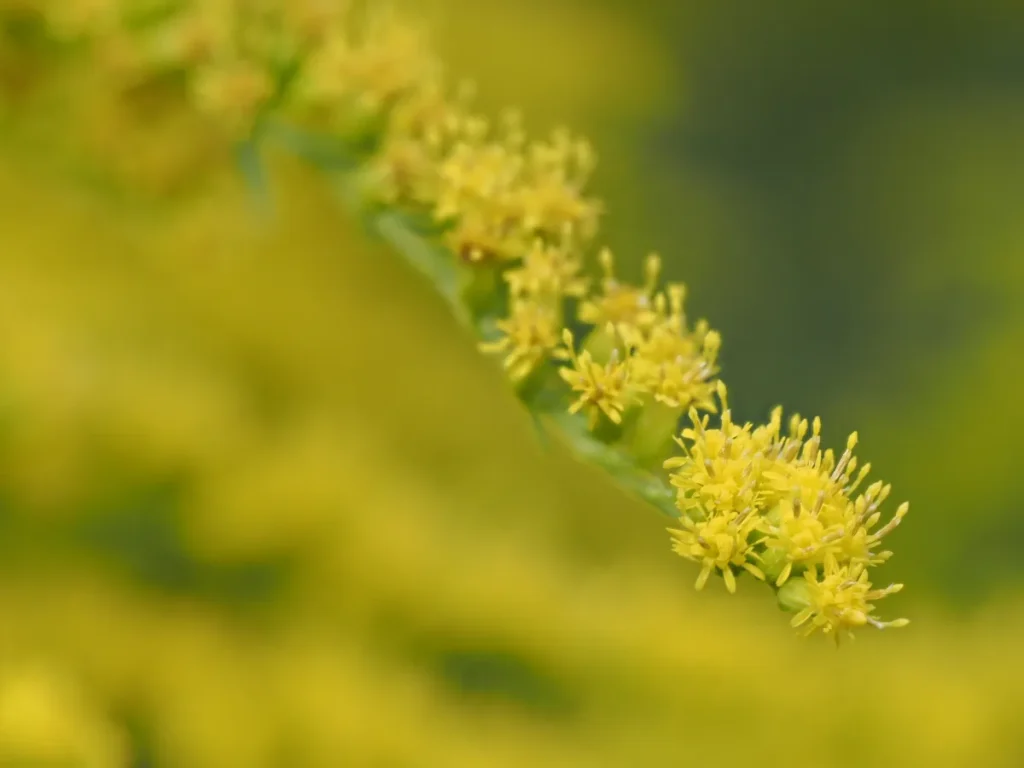
I’ve already covered in detail how to set up both functions on your camera, what values make sense for the number of shots and focus differential, and what to watch out for when using flash, in Focus stacking and focus bracketing. Here, it’s just about getting the basic idea across.
Stacking or bracketing, which when?
In practice, whether you use focus stacking or focus bracketing depends a lot on what you expect from the result. If you want a quick, no-fuss result, maybe one you want to share on social media while you’re still out shooting, focus stacking is the right approach. It’s limited to 15 shots though, which also limits how far it can extend your depth of field. You can also only use it with lenses that support focus stacking.
If you need more shots, or want to use a lens that isn’t compatible with focus stacking, focus bracketing comes into play. It’s far more flexible: you can shoot up to 999 images, and use lenses that don’t work with focus stacking at all. The downside: you have to combine the images afterwards using software on your computer. That means at the time of shooting, you have no way of knowing whether you’ll actually be able to combine them successfully later.

Not just for macro
Focus stacking and focus bracketing aren’t purely macro tools. I’ve already covered their use in landscape photography in a separate article: Focus Stacking in landscape photography.
The technique is worth using anywhere you want more depth of field without losing the blurred background. Product photos, for example, where the whole product needs to be sharp but the background should still look separated. Or a portrait where a person in front and a detail in the background both need to stay sharp, without flattening the whole scene by stopping down.
Conclusion
In macro, depth of field is your biggest challenge, and stopping down alone doesn’t really solve it. You either lose the blurred background that makes a macro shot special, or resolution to diffraction, sometimes both at once. Focus stacking and focus bracketing solve exactly that, without sacrificing the creative benefit of a blurred background. And the technique works just as well outside of macro, by the way.
You can find out how to set up both functions on your camera in my article Focus stacking and focus bracketing.
Are you already using focus stacking or focus bracketing, or do you tend to just stop down? Let me know in the comments.