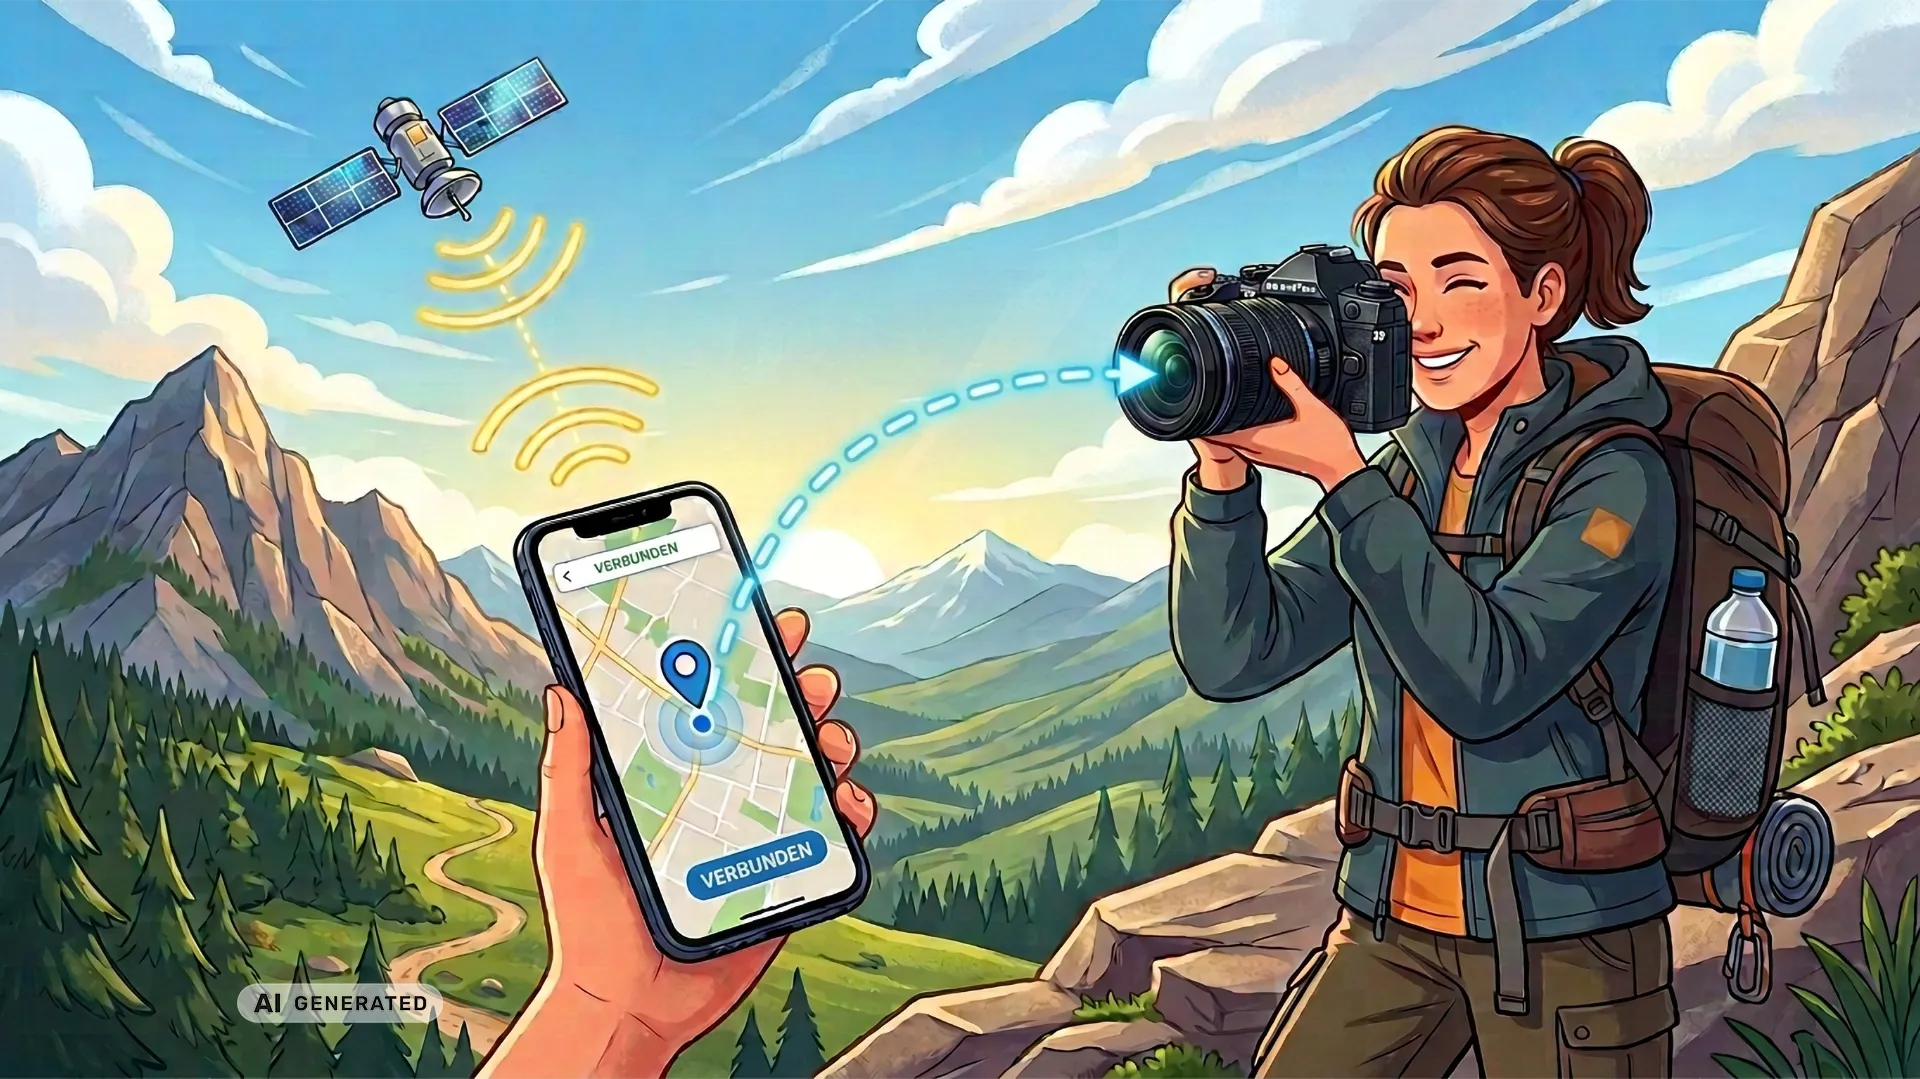
Unlike the E-M1X and the TG series, the OM-1 no longer has a built-in GPS sensor. If you still want to geotag your photos – for example to retrace exactly where a shot was taken on a trip or a photo tour – you don’t need an external GPS module for that. OM Digitalsolutions built a feature called Connected GPS for exactly this: the camera pulls the location data straight from your smartphone over Bluetooth, without you having to actively operate the OI.Share app while you’re shooting. The nice part is that the data gets written into the image right at the moment of capture, so you don’t have to remember to sync the camera with OI.Share afterwards. Here’s how to set it up – I also cover it in detail in my YouTube video on the topic.
What you need
- An existing pairing between camera and smartphone (if you haven’t done that yet, I’ll walk you through the pairing again below – or check my article „Bilder vom Smartphone laden – ohne die OM-1 einzuschalten“)
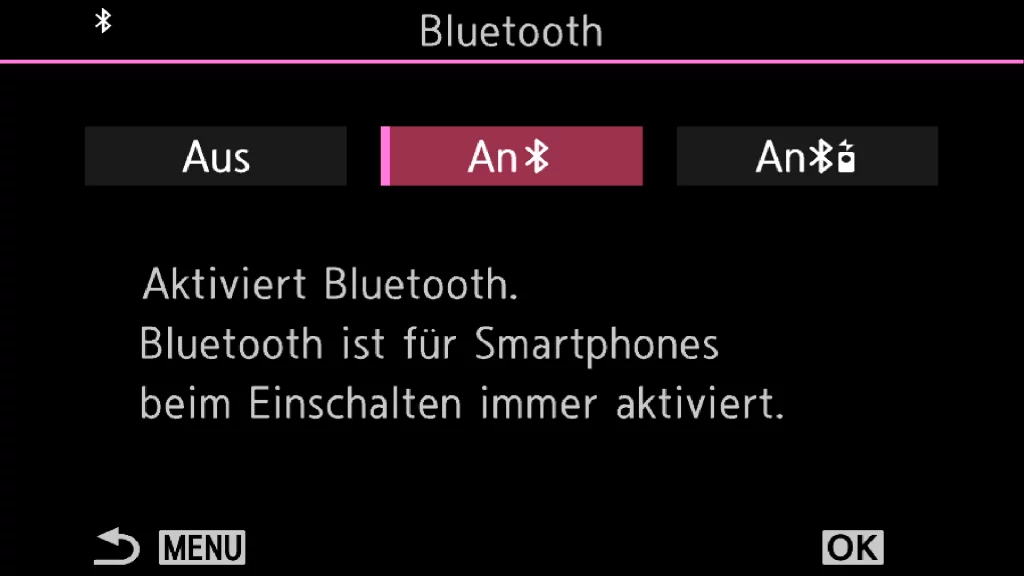
- Bluetooth on the camera set to „Bluetooth On“ (not „Remote Control On“ – otherwise the camera is set up for a remote control like the RM-WR1, and the connection to your phone won’t work)
- OI.Share installed on your smartphone, with GPS enabled on the phone
- A charged phone battery – keeping the Bluetooth connection alive the whole time does draw some power
Pairing the camera and your smartphone
If you’ve already paired your devices, you can skip this section.
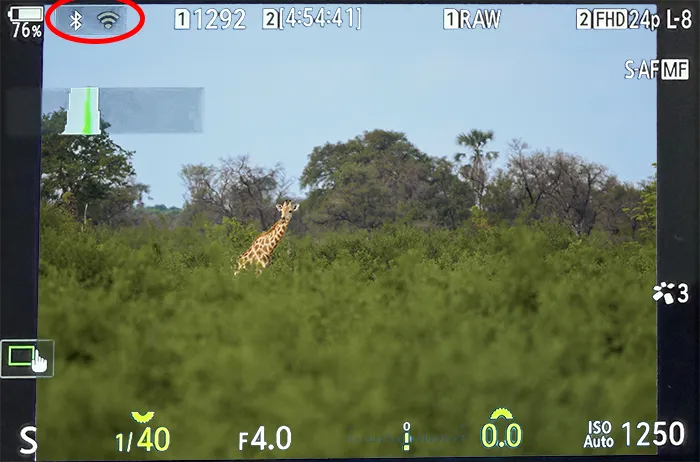
1 Start your camera’s Wi-Fi by tapping the Wi-Fi icon in the top left of the monitor, or open the Wi-Fi connection settings from the menu.
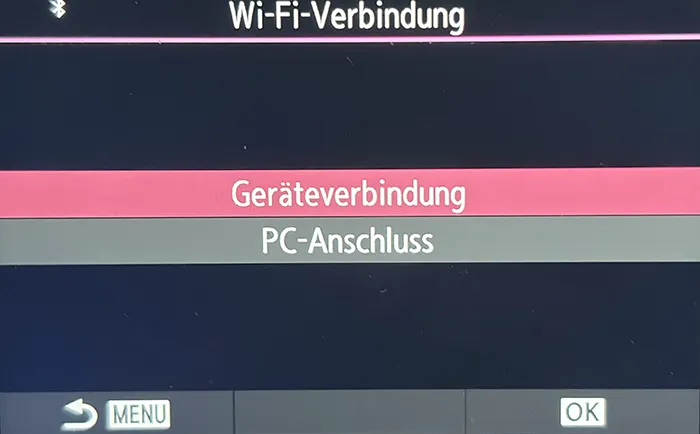
2 Choose Device Connection so your phone can talk directly to your camera.
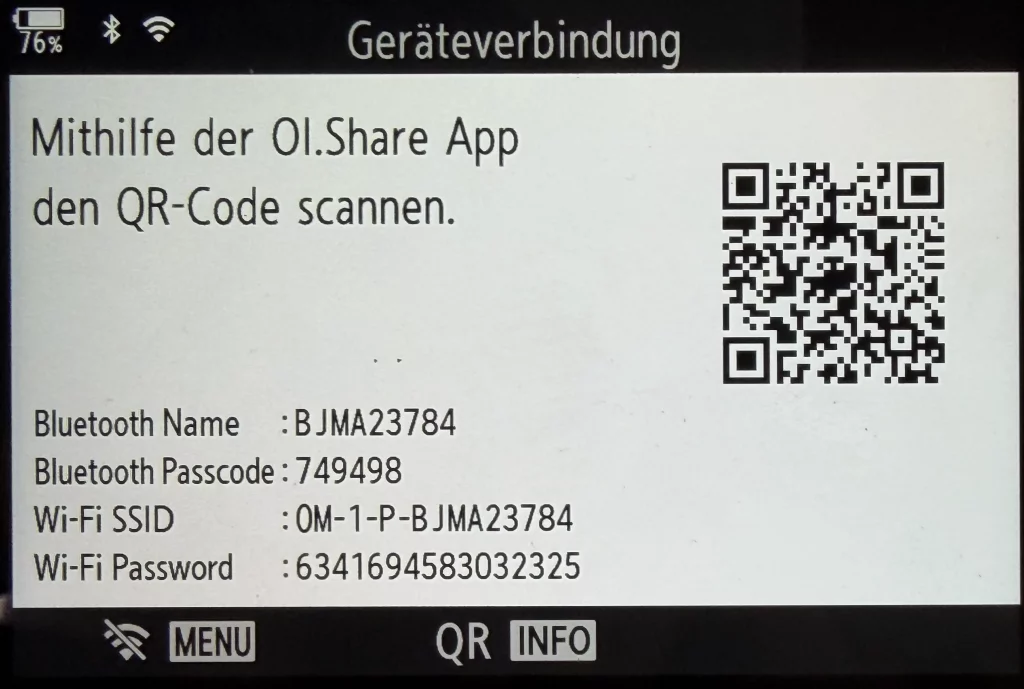
3 Scan the QR code shown on the camera with your phone and follow the instructions in OI.Share.
4 Then check in the camera menu under Wi-Fi/Bluetooth that Bluetooth is set to „Bluetooth On“.
Turning on Connected GPS
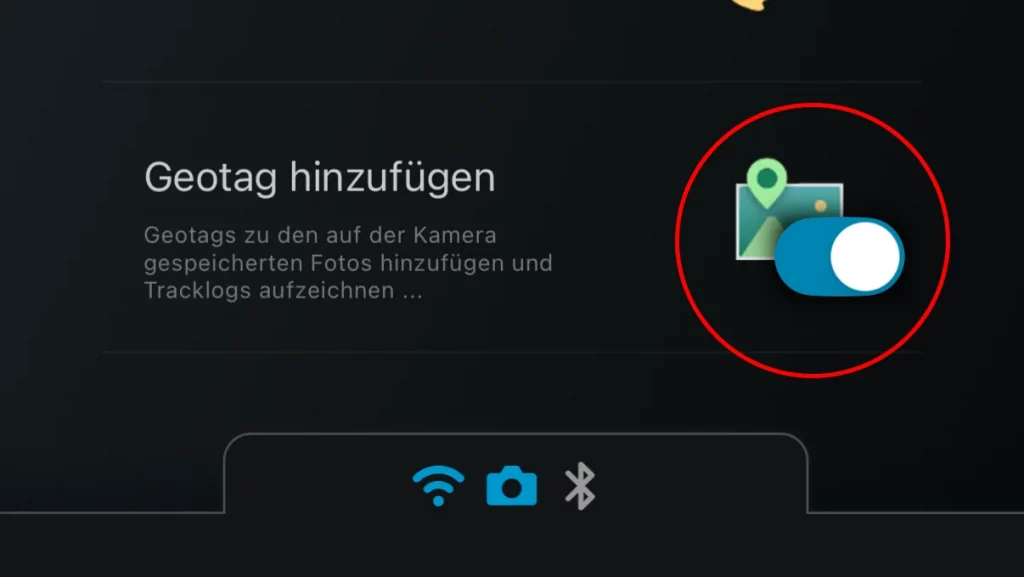
1 Open OI.Share on your smartphone and turn on the option to add location information (geotagging) there. You’ll find it in the app’s settings menu.
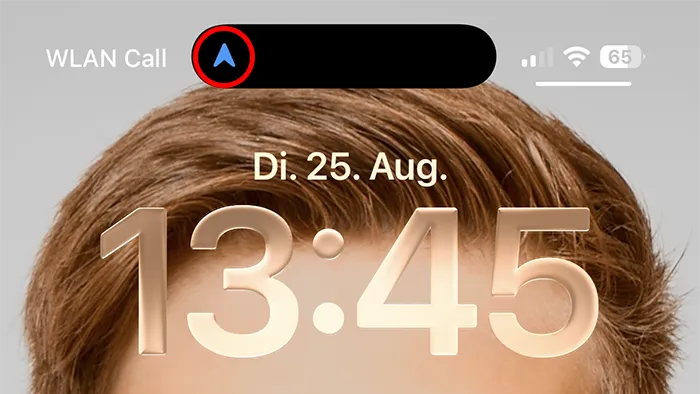
2 Make sure Bluetooth stays active for the whole shoot – the app doesn’t need to stay in the foreground for this, but it does need to keep running in the background and hold the connection to the camera. On the right you can see what this looks like on my phone. It may look a bit different depending on your phone model.
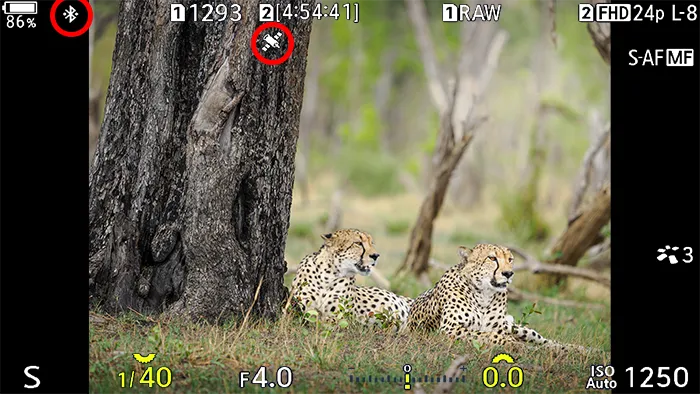
3 As soon as the camera can receive location data, a small satellite icon appears on the shooting screen. If it’s blinking, the camera hasn’t received valid GPS data yet – that can take a moment right after powering on or waking up from sleep. Once it’s shown solid, your shots are automatically tagged with location data from that point on. The small Bluetooth icon next to it shows you whether the connection to your phone is active.
4 During playback, the satellite icon shows you which images contain geodata.
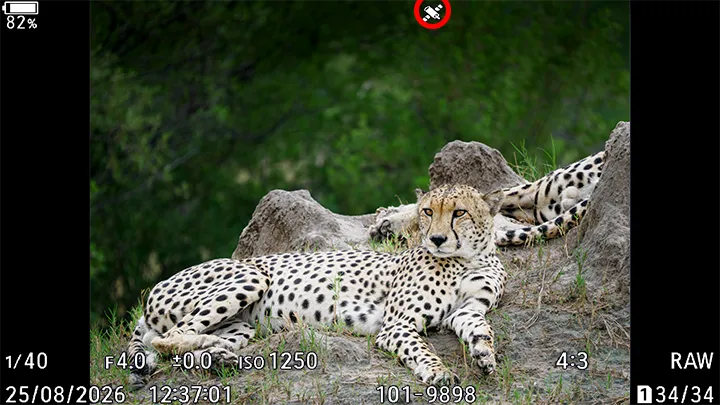
5 Don’t forget to turn the location-info feature back off in OI.Share once you’re done – otherwise the connection keeps draining your phone’s battery for no reason.
Important: Location data isn’t added to videos – Connected GPS only works for photos.
My take
I mainly use Connected GPS when traveling and on my photo tours, when I want to be able to trace exactly where a particular shot was taken – a real help on wildlife trips with lots of different locations in a single day. In everyday use at home I usually leave it off, because keeping the Bluetooth connection alive the whole time costs battery – on the phone, and to a lesser extent on the camera too. If you’re carrying a power bank anyway while you’re out and about, that’s not really a concern. If you own an OM System Tough camera, you can also use it as a GPS tracker instead and transfer the GPS data to your camera afterwards. I explain exactly how to do that in my article „Utilise Tough TG-6 as GPS Tracker“.
I also walk through setting up and using Connected GPS step by step in my YouTube video.
Do you use Connected GPS regularly, or do you rely on a different geotagging solution? Let me know in the comments.