Only a view system camera, like the Olympus E-M1X for example, do have a built-in GPS. Those cameras can either write the position directly into the EXIF data or record your route. In case you don’t have a system camera with built-in GPS there are several possibilities to record GPS data and write them into EXIF or record your route.
The easiest is for sure the smartphone together with the appropriate App, like OI.track from Olympus. The disadvantage is that a smartphone doesn’t survive the whole day in case you have GPS activated. As I anyhow own a TG-6, which has also a built-in GPS, as a second camera, I’m using it as a GPS tracker.
Advantages
In opposite to the smartphone, the TG-6 can be used over several days without recharging in case you only use GPS recording. Also, you could be sure, that your smartphone is used for other things. As with the smartphone, you can send GPS data to your camera and save them as EXIF data into your image.
Preparations
First, you should connect your TG to your smartphone. As soon as you have done it the time in the TG-6 will be synchronised with the time of your smartphone. When you do the same with your OM-D the time of all three devices are synchronised. This is especially important in case you would like to save the GPS data into your image EXIF data. Base on time the camera decides which GPS data is written to the fitting image.
Also, I recommend installing A-GPS data into your TG-6, then the TG-6 can find the GPS signal when you switch it on. How to do this I described in my article “….”
How to
The TG-6 (by the way the same switch is available on TG Tracker as well) has a switch to activate GPS constantly, even if the camera is switched off. In case you are using older TG cameras, you can activate GPS constantly on the menu. Once you have activated your GPS you only have to have the camera with you.
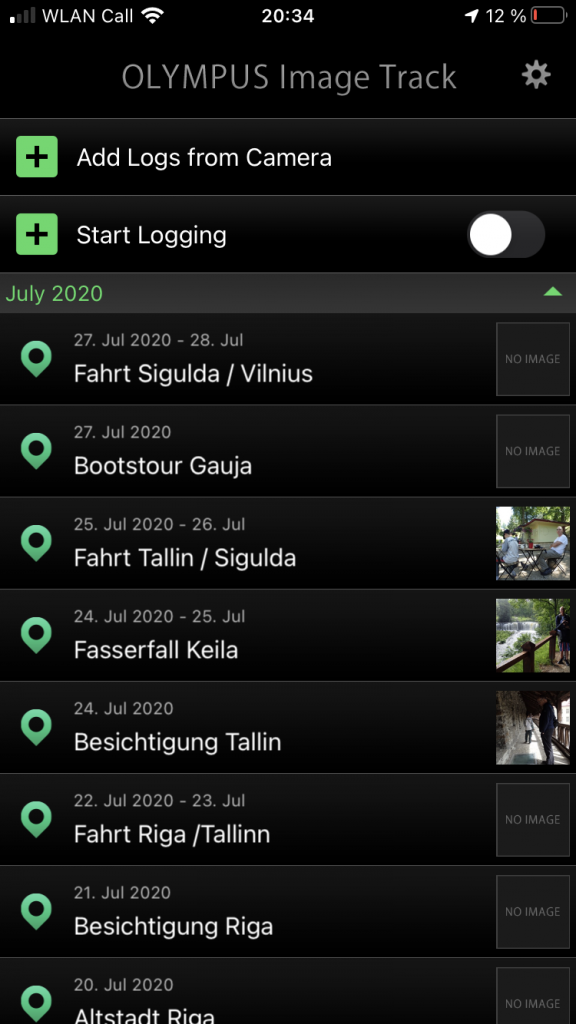
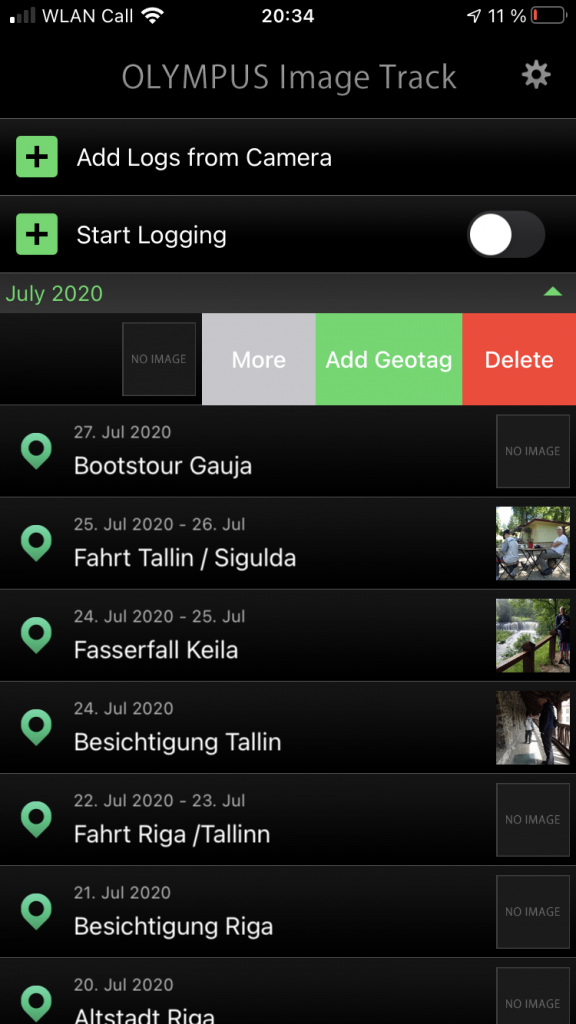
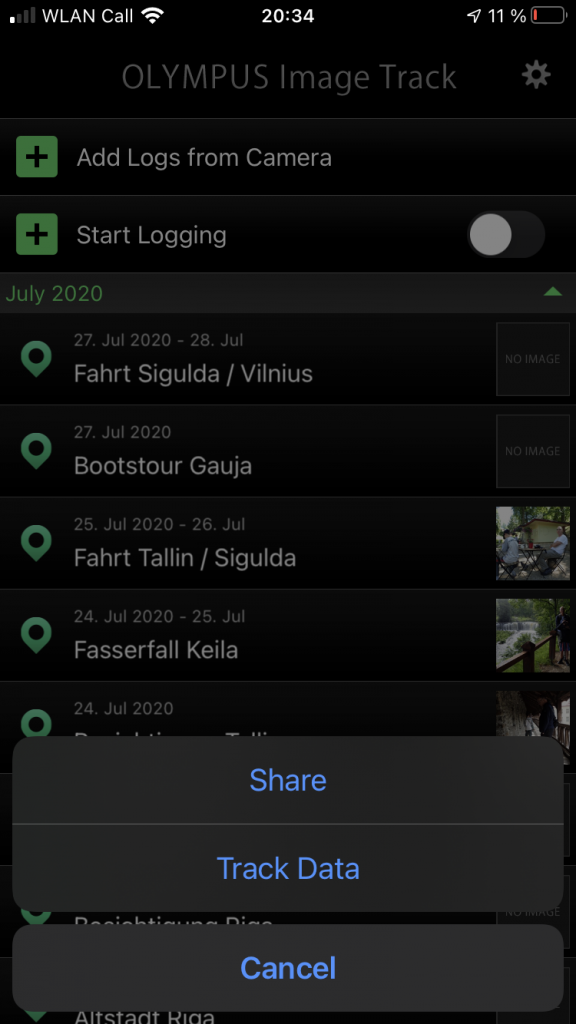
As soon as you finished you can download with WiFi the GPS recording with OI.share to your smartphone. OI.share is available for free on Apple App Store or Google Play. From the App, you can send them via mail or store it on your computer (in case you are using Apple devices the easiest way is AirDrop). Or you send it to your OM-D camera to save the position data in the EXIF data of each image.
Use GPS data
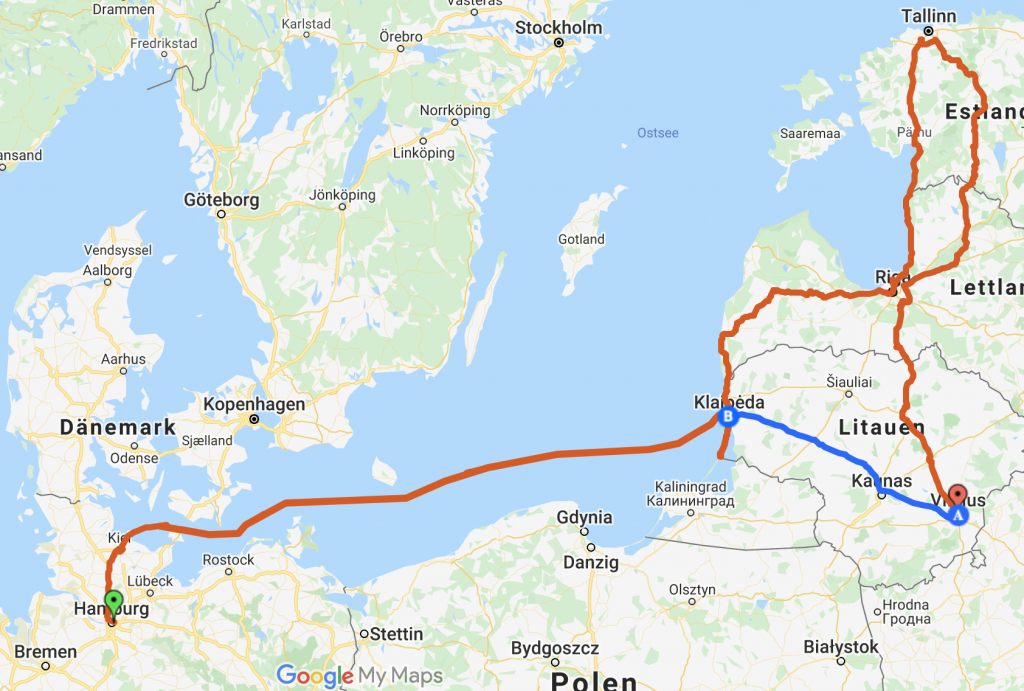
GPS data can be saved in different formats. The data of TG-& are .log files, which are not usable for all programs. Therefore in some cases, you have to convert them. For example, in case you would like to save it on Google maps. You can do that on the free website GPS Visualizer.
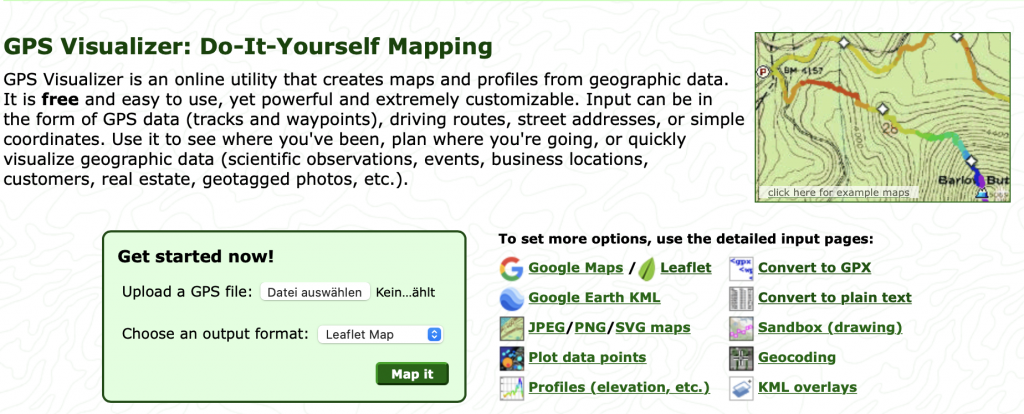
Select “Convert to GPX” and upload your TG file to the website to convert it. In case you have recorded several files, you have the possibility to select all of them. Those files will be converted into one file. Here one example on Google maps.